Thick and creamy instant pot Greek yogurt, packed with healthy probiotics, that you can make better and cheaper at home. All you need is whole milk, a yogurt starter, and your instant pot. For $6 or less you can have an entire gallon of this delicious and nutrient dense treat to enjoy!
This instant pot Greek style yogurt is so loved in our house that I am making it almost weekly. We use it for savory meals or for a sweet snack topped with honey and a sprinkle of cinnamon. The set-it-and-forget-it function on my instant pot makes this so easy to keep in our food rotation.
What Do You Need to Make Instant Pot Greek Yogurt?
You could spend a few dollars more to make this a cold start yogurt. If you purchase an organic, ultra-homogenized milk you don’t have to heat the milks first. Literally, all you would do is dump in the milk, stir in a yogurt starter, and hit GO!
But to make this cheaper in your budget, especially if you are trying to hit some financial goals, we are starting with private label whole milk. I’m not sure what it costs in your neck of the woods, but around here we are paying about $4.25 a gallon.
Next you need a yogurt starter. You can buy a starter like this if you want to. I just pick up a single of plain Greek yogurt when I am at the store. Go ahead and splurge for a good brand here. This is what gives you all the good, healthy bacteria you need to make your big batch of instant pot Greek yogurt.
Once you make your first batch, set aside a small jar of your plain Greek yogurt to use as a start for your next batch. You won’t have to purchase anything but the milk from then on. When you consider a quart of name brand Greek yogurt runs between $4-8 you can see how making your own instant pot Greek yogurt is better and cheaper at home.
Heating the Milk for Your Instant Pot Greek Yogurt
If you choose to go with conventional milk DO NOT SKIP THIS STEP. It is important to make sure that your milk won’t have anything to compete with the good bacteria in the process.
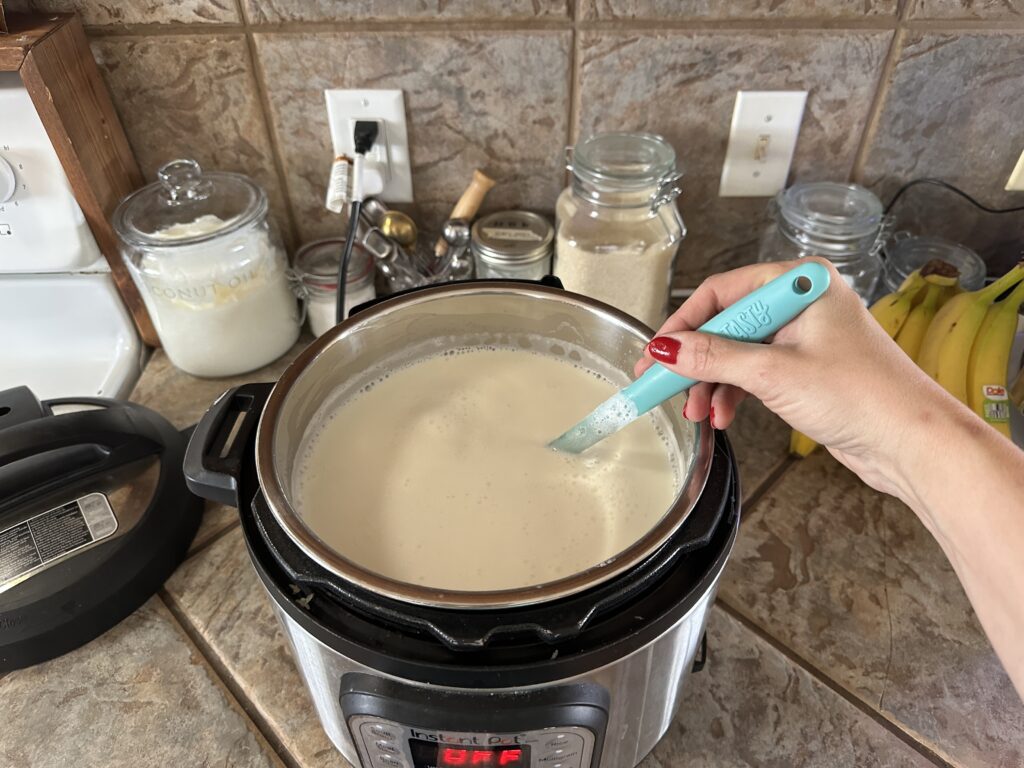
Place the liner in your instant pot and pour in your milk. Turn on the SAUTE function to begin heating the milk. Heat the milk to a temperature of 180 degrees Fahrenheit. This will kill any bad bacteria. Be sure to not leave the milk alone. It can scorch on the bottom of your instant pot liner. You need to stir it constantly to help it heat evenly and not burn.
This part of the process requires some planning ahead. Not only do you need to heat the milk to 180 degrees Fahrenheit, but then you need to allow it to cool to 11o degrees Fahrenheit before adding your yogurt cultures into it. Not allowing it time to cool will ultimately kill your good bacteria. Then you will just have warm milk.
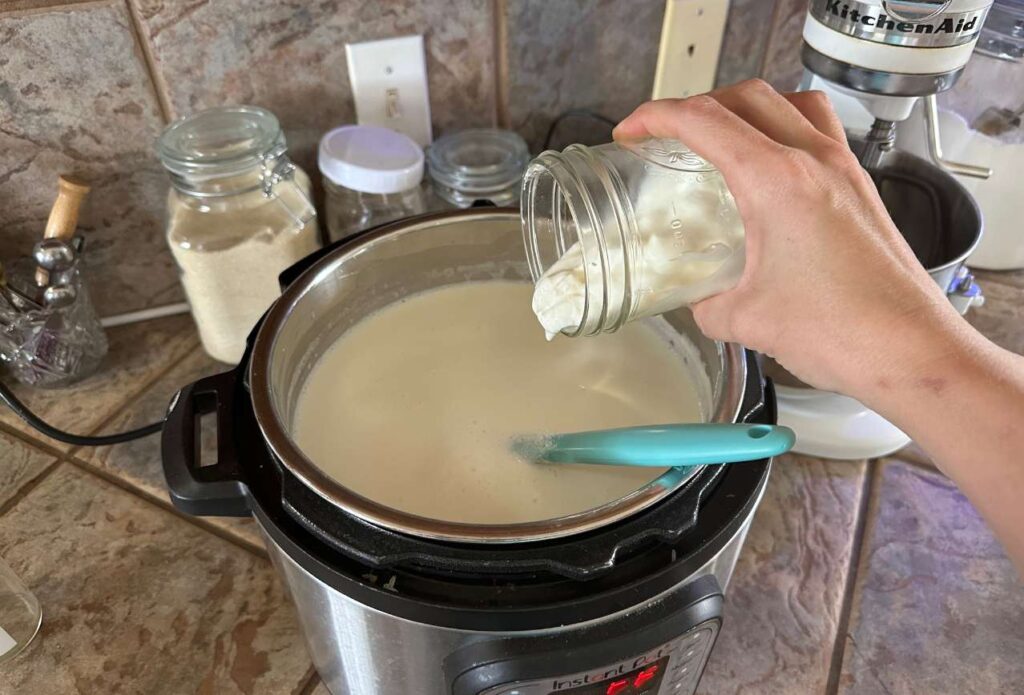
I like to start this process mid-afternoon once we have wrapped up our homeschool day and set the house back in order. Then, while I am in the kitchen working on dinner, cleaning up after the meal, and so on, I can monitor the temperature. By the time we are done in the kitchen and ready to wind down for the night, the milk is cooled and ready to mix in my yogurt culture.
Then, I just have to stir it all together and let it cook overnight.
How Long Does it Take to Get This Yummy Yogurt Made?
Once the milk is cooled and the live cultures have been added, you are ready to let the instant pot take over and do the rest for you. The time you set will ultimately become personal preference based on how tangy you like your yogurt. For our family, 9 hours has become the ideal time. For less tanginess, reduce the time. If you like a really zingy yogurt, increase the time.
This is why I love letting it cook all night. It just fits seamlessly into my routine to wake up to a finished instant pot yogurt ready to cover with a towel and plate and transfer to the fridge.
Make sure that you remove the gasket on your lid before closing the instant pot. This is not a recipe that needs to come to pressure, so the gasket is not important. You may have a glass lid that you use when you are sautéing. You can use that for the yogurt making as well. The gaskets are known for trapping some odors in them as well. You don’t want those odors accidentally flavoring your yogurt!
How to Get the Thick and Creamy Greek Texture
This is where the magic happens. If you like the thick and creamy texture of Greek yogurt, then this step is a game changer to go from the basic plain yogurt to rich goodness.
If, like me, you have some in your family who don’t like the texture of Greek yogurt, then this is where you will separate some out for them. Perhaps even go ahead and stir in some honey or pure maple syrup, and vanilla for a ready-to-eat treat. Or you can leave it plain as well.
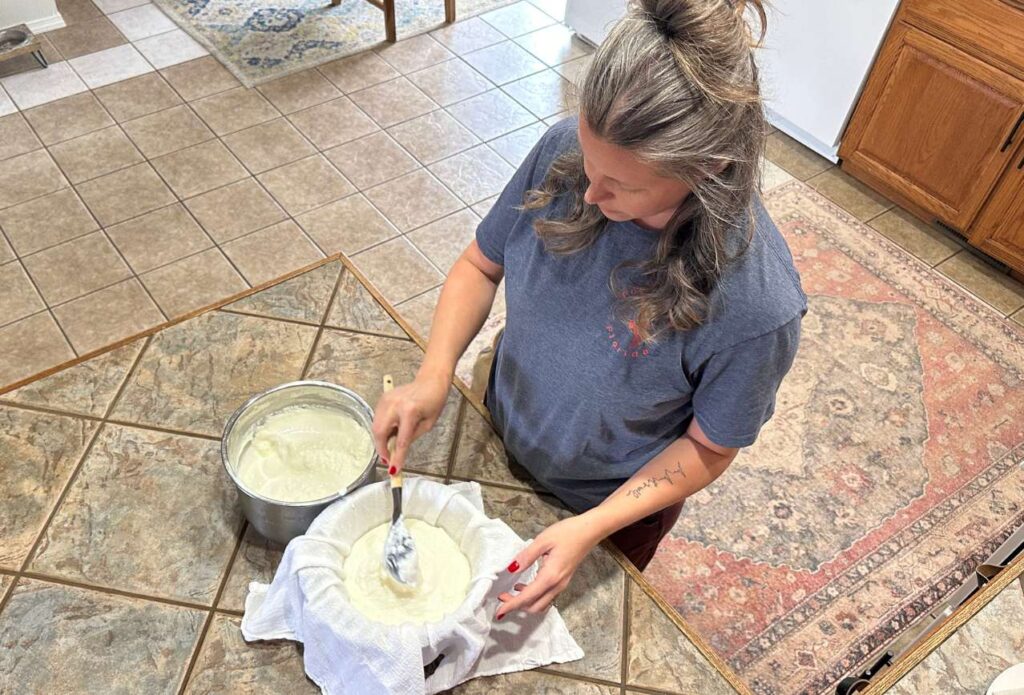
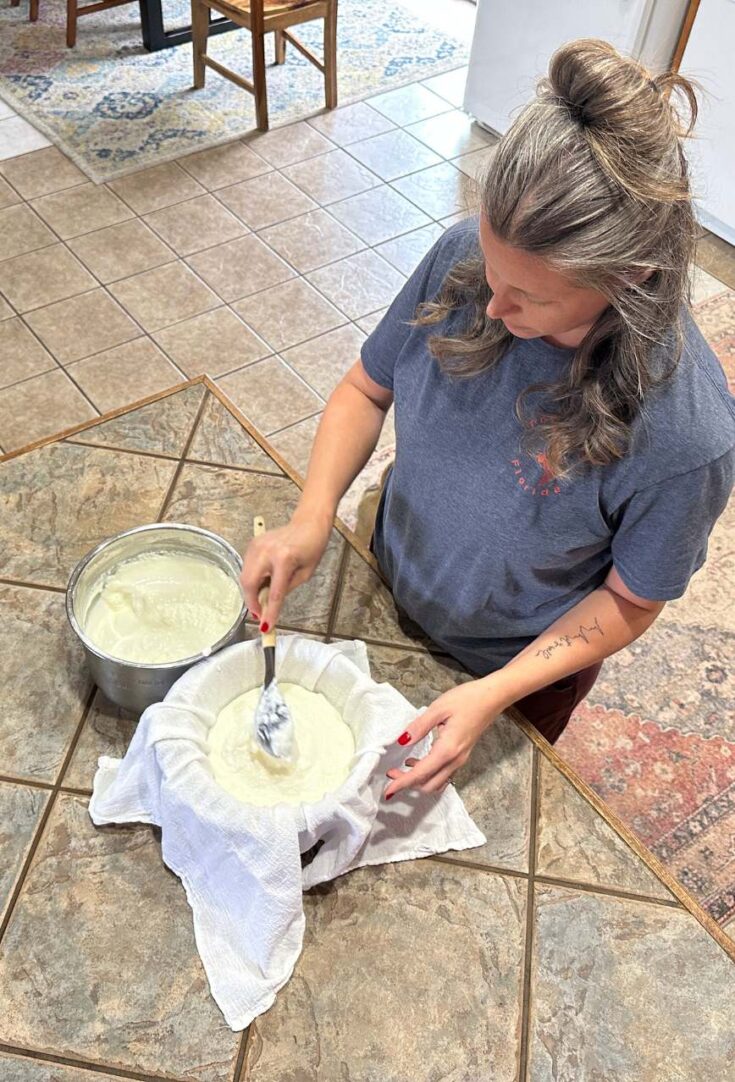
All you will need is a medium to large size colander and a bowl for the colander to rest in, as well as a flour sack towel. Nest the colander in the bowl and line with the towel. Then you will carefully spoon the yogurt into the colander and allow it to strain the whey for anywhere from 2 hours to several hours. Depending on if you forget about it or not. Wink, wink!
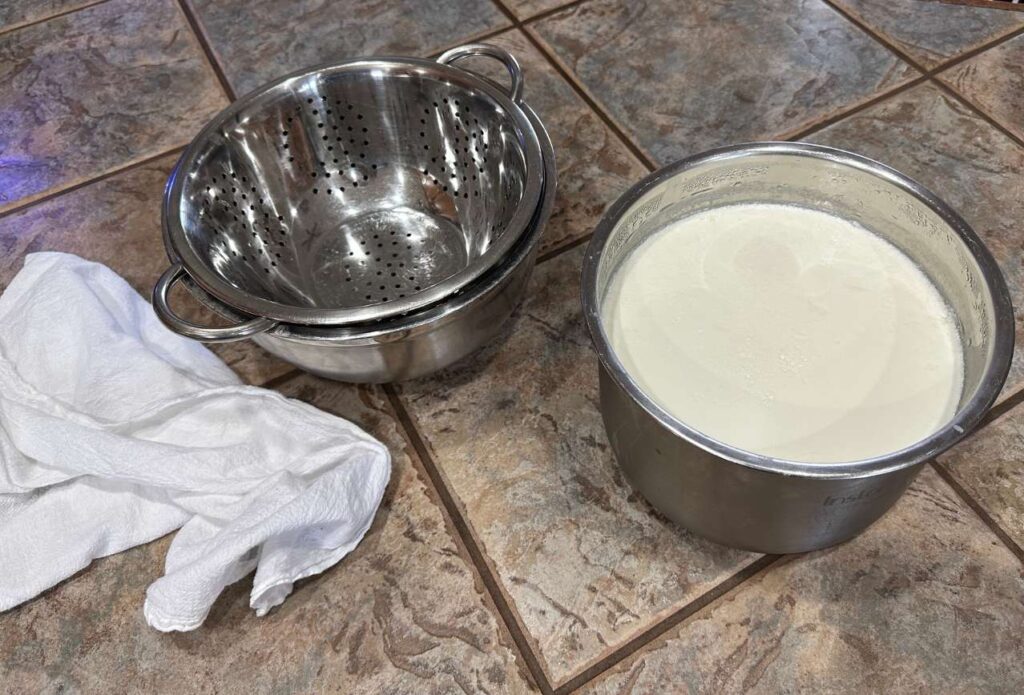
You may need to pour off some of the whey periodically, depending on how deep your bowls nest. Otherwise your yogurt just sits in the whey instead of straining it off.
Don’t throw the whey out when you are finished until you have read this! There are many ways to use it! Part of frugal living is avoiding waste when at all possible. These are some great ideas for putting the leftover whey to good use.
Ways to Enjoy Your Instant Pot Greek Yogurt
Everyone has their own favorites in our household. This instant pot Greek Yogurt that is better and cheaper at home is so versatile. You can enjoy it…
in smoothies
as a sweet, high-protein afternoon snack
in baking
as a substitute for sour cream in Mexican dishes
or my favorite way lately; mix it with some freshly shred parmesan cheese and top with two burger patties and a little flaky salt. It may sound boring, but the flavors are so good.
Storing Your Better and Cheaper Yogurt at Home
Because of the fermentation process of the yogurt, it has a pretty good storage life. Once your yogurt is all strained, transfer it to airtight containers to store in the fridge for up to two weeks. IF it lasts that long!
You can also pre-make some delicious parfaits. Just layer the yogurt in small mason jars, alternating between yogurt, honey, mixed fruit, or your favorite toppings. Keep these in the fridge for a ready-to-go breakfast or snack.
Enjoy Your Instant Pot Greek Yogurt – Better and Cheaper at Home
Now that you know how to make yogurt, and see the money saving awesomeness of doing it yourself, you are all set.

JUST REMEMBER
Do not flavor your yogurt before the cooking process.
Make sure you heat your milk through before hand.
Cooling the milk to 110 degrees afterward is very important.
Make sure your instant pot and utensils are very clean. No odors.
ENJOY!
Instant Pot Greek Yogurt - Better and Cheaper at Home
Making your own Greek yogurt at home is a great way to bring nutritious food into your families meals while maximizing your budget. This easy recipe will soon become a staple in your household also. Just a couple of simple ingredients turn into the delicious, thick and creamy Greek yogurt you love, for a fraction of the cost!
Ingredients
- 1 gallon of whole milk
- yogurt starter with live active cultures
Instructions
- Pour the milk into the liner of your instant pot.
- Turn on the saute function to begin heating the milk. Stir continuously until the milk reaches 180 degrees Fahrenheit .
- Allow milk to cool back down to at least 110 F.
- Add your yogurt culture. This can be a purchased dehydrated starter, a single serving of high quality plain greek yogurt from the store, or leftover yogurt from some previously made. Just make sure it is plain. Stir throughly to ensure the cultures are well integrated into the milk
- Add your lid to your instant pot. Make sure to remove the gasket as you will not need to worry about the instant pot coming to pressure.
- Set the YOGURT function on the instant pot.
- Set the time for 9 hours. You can adjust this longer or shorter as you figure out what you prefer. Longer will get you a tangier flavor. Less time makes it more mild.
- Once the yogurt is done cooking, cover with a tea towel and plate and transfer to the fridge to allow it to cool. This helps the texture develop. Allow to cool for 4-6 hours.
- Now that the yogurt is cool you will need to strain the whey to get the Greek yogurt texture.
- Line a colander with a flour sack towel and nest them in a larger bowl so the colander sits up out of any liquid.
- Carefull transfer your yogurt into the towel-lined colander, then wrap the towel over and twist. Transfer back to the fridge and let the whey strain for 2 hours or so. You may need to periodically pour off the whey to keep the yogurt from just sitting in it.
- Once the yogurt is strained you are all done!
- Transfer to an air-tight containter and store in the fridge for up to two weeks. Remember to set some aside to use as your yogurt starter in your next batch!



Leave a Reply