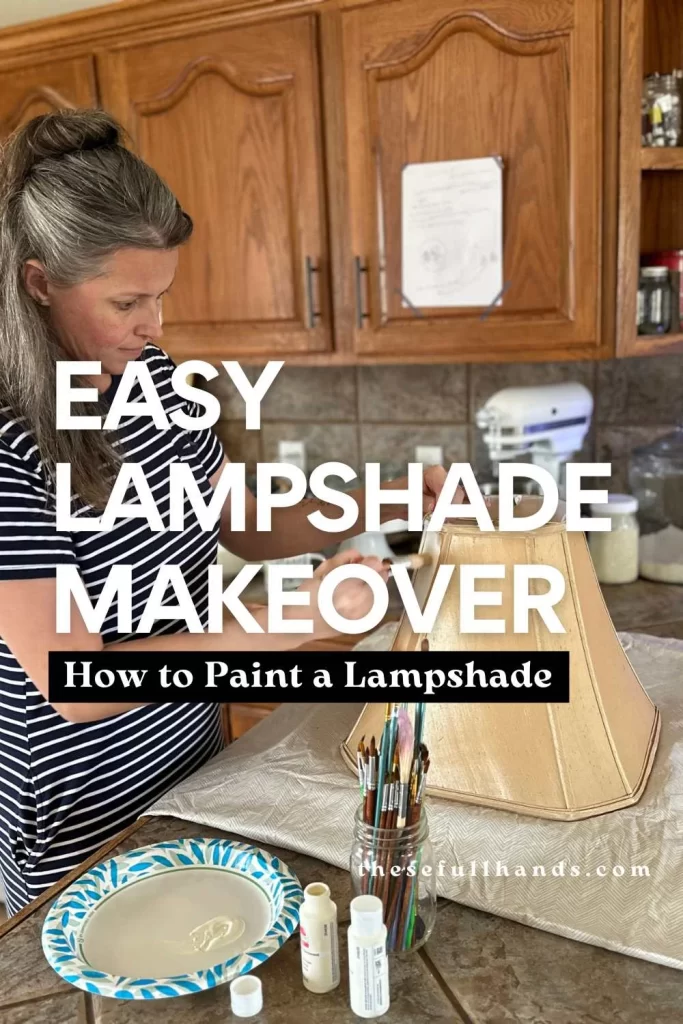
Transform an old or thrifted lamp with this simple painted lampshade makeover. A fast, low-cost way to update an older lamp. I have been keeping my eye out at thrift stores for the perfect lamp for my table…and I found it! It just needed a makeover!
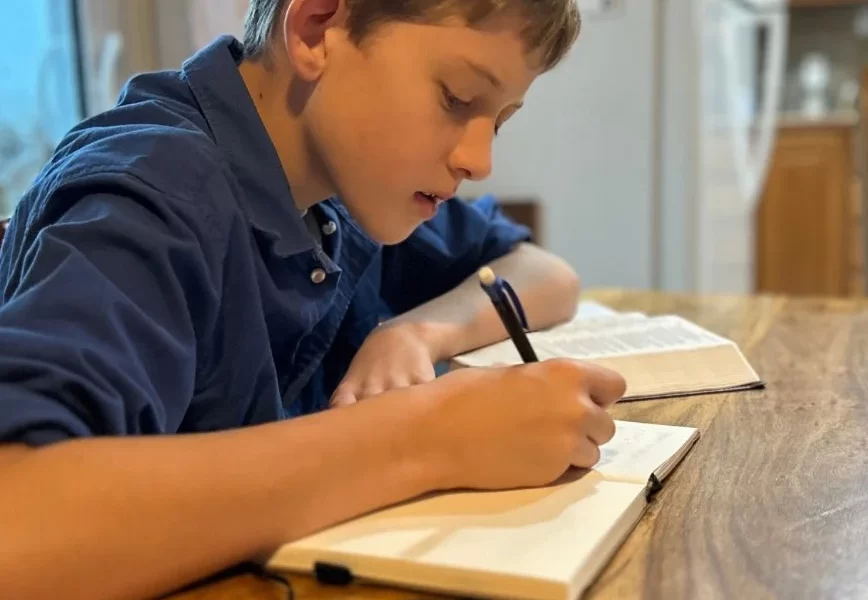
You see, my husband likes to sit on the sofa next to this round table every morning with his coffee while he reads his Bible. The lamp we used to have here was old and broken, and no longer worked. The only available lamp I had to replace it was a smaller bedside or desk lamp.
As an Amazon Associate I earn from qualifying purchases.
It was comical to watch my husband sit there holding the lamp over his bible so he could see the text. The lamp was not working. But I didn’t want to go buy a $30+ brand new lamp. I have a budget to stay in! At least not without looking for a thrifted lamp like I was wanting to find.
Here are some great ideas for sources secondhand items!
Finding My Lampshade
I had two ideas in my head. I either wanted to find a vintage looking basket swag lamp to hang from the ceiling in the corner. Or I wanted to find a lovely brass or wood base lamp. A mom’s-day-out morning with my girlfriends and I found success; this beauty! For $10, and it came with a brand new lightbulb! (hot dog!!)
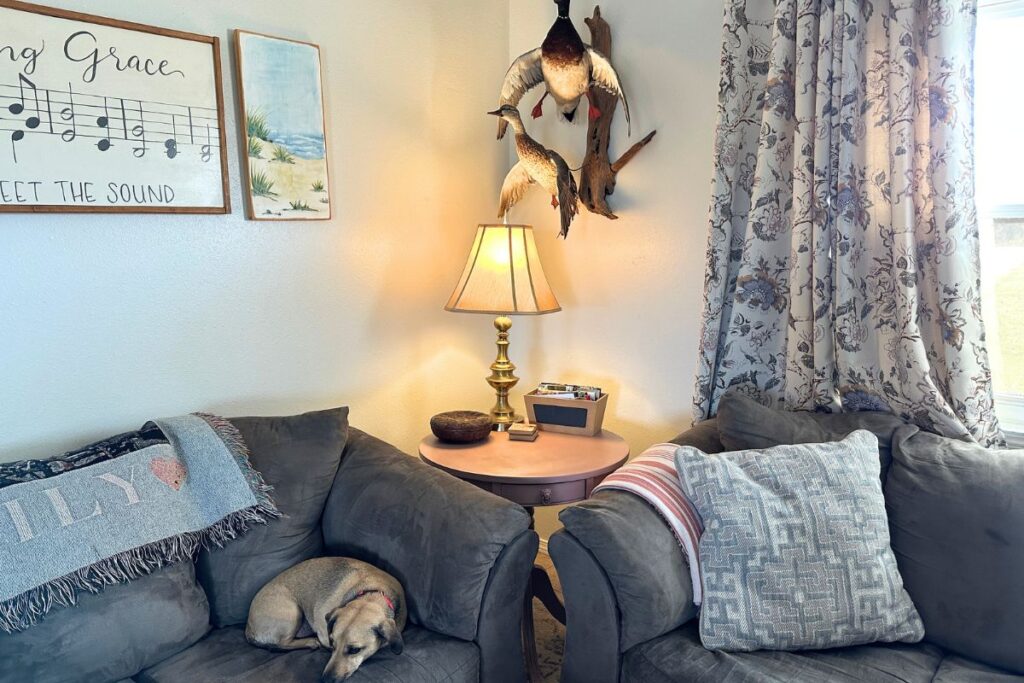
While I was excited about the base, the lampshade left a lot to be desired for me. I knew the lampshade would either need a makeover, or I would replace it. It had good bones, so I figured I would do a painted lampshade first. If that didn’t work, then I could replace it. Funny enough, my husband liked the lampshade better than he liked the base.
I have plans for the base, too. But that is for another day. The brass on this lamp is in great shape and looks like a lovely piece as it. I am thinking some antique gold Rub’n’Buff will give it the modern-vintage update it needs.
Let’s get on with this painted lampshade makeover, shall we?!
What You Need for Your Easy Lampshade Makeover
All you need to paint your lampshade is some matte craft paint, drop cloth or plastic tablecloth, chalk paintbrush, and your lampshade. If your lampshade is dusty or dirty you will want to clean it well first. Using a lint roller is a great way to get the dust off. Then wipe it down with a damp rag.
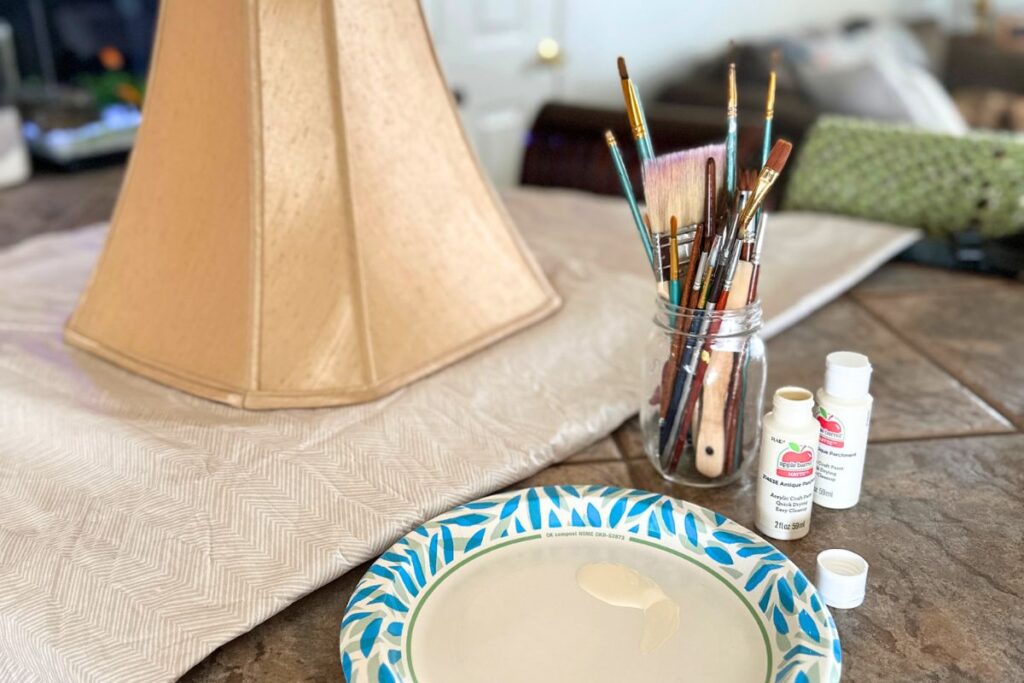
One thing to note is that there is no hard and fast rule to painting a lampshade. You just need to be willing to try it. Depending on the fabric, or if it is vinyl, the age of the material, the porosity of the fabric, the paint color choice; they can all be variables that change the rules from lampshade to lampshade.
For my easy lampshade makeover, I wanted to take this brown, dated lampshade from the 90s and give it a modern farmhouse look. I could tell the integrity of the fabric and structure were in excellent condition, but the color and look was not working for me. I opted for an antique parchment matte craft paint.
Time for Painting Your Lampshade
Your lampshade is clean and dry. All your materials are set out and ready. It is time to get started. This is a great makeover project to do on a rainy or snowy day. You can make your little workspace, apply the coat of paint. And then go about your day in between coats while you wait for them to dry.
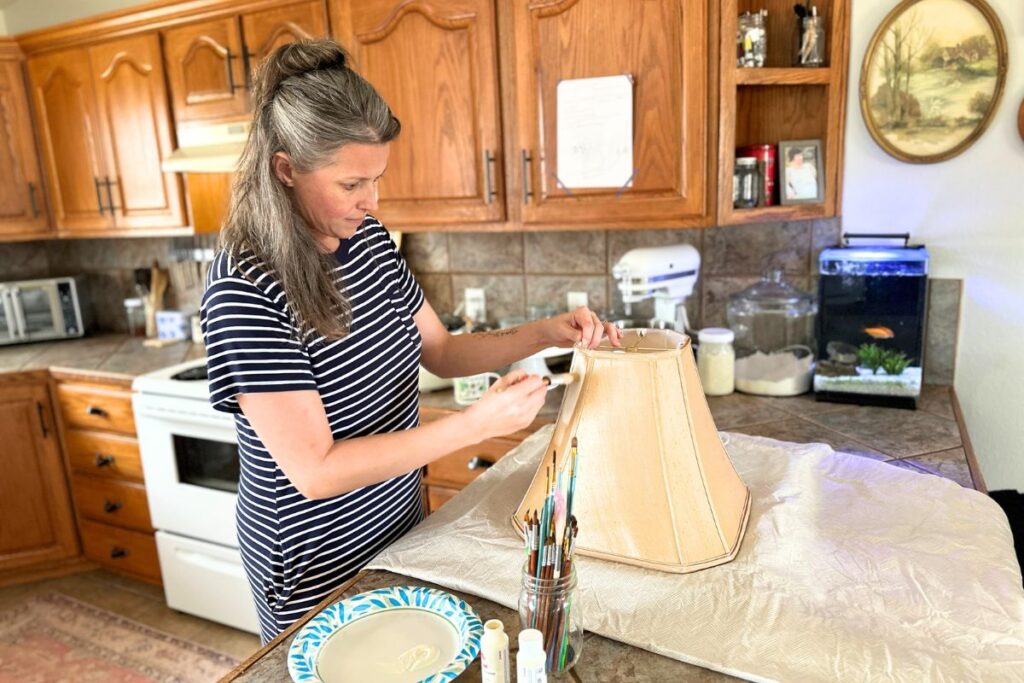
I cannot tell you exactly how many coats to plan on applying. However, I can tell you it will be a few. And you will periodically want to set the lampshade back on the lamp with the light on to check for opacity and visible brush strokes.
I also found that using a paintbrush for chalk paint works really well. It gets the right amount of paint loaded and applies it in a smooth and even coat. Likewise, it is great at being able to get the paint in the harder to reach pleats or creases.
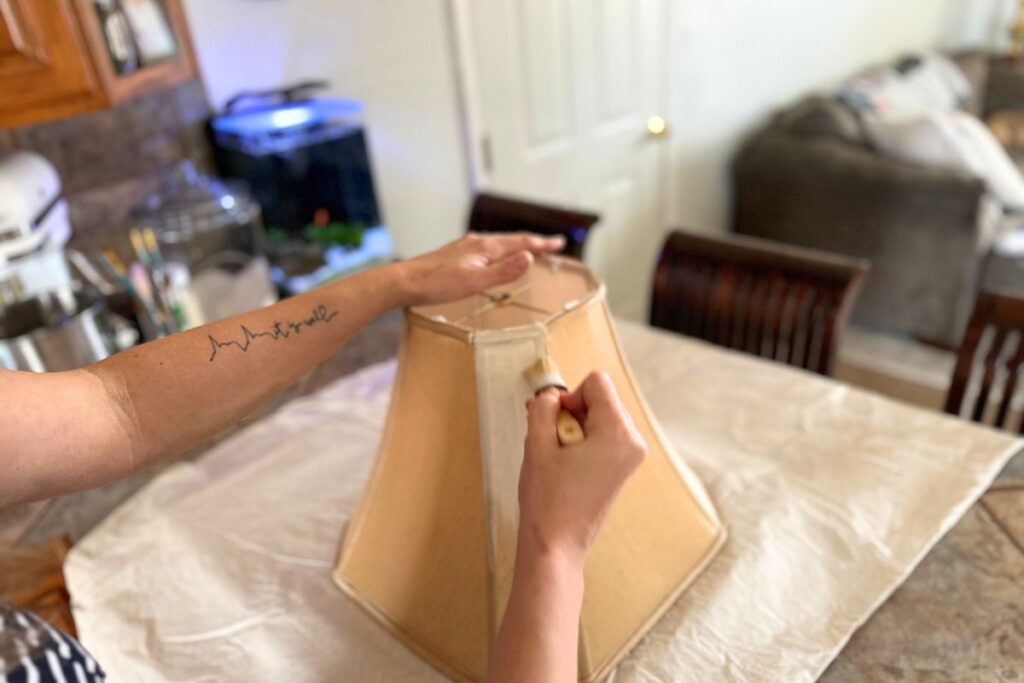
After your second or third coat you will want to set your painted lampshade back on your lamp. With the light on you see what your coverage is looking like. This helps you spot areas that still have visible brushstrokes.
How Many Coats of Paint for This Painted Lampshade Makeover?
After about four coats of paint on my lampshade, I could see that there were some spots in the upper and lower edges that didn’t get as much paint applied. These made for noticeable light spots that highlighted the fact that the lampshade was painted.
I applied two more coats, focusing on getting good application along the upper and lower pleated edges. Once more, I set it on the lamp base, and voila! I love it!
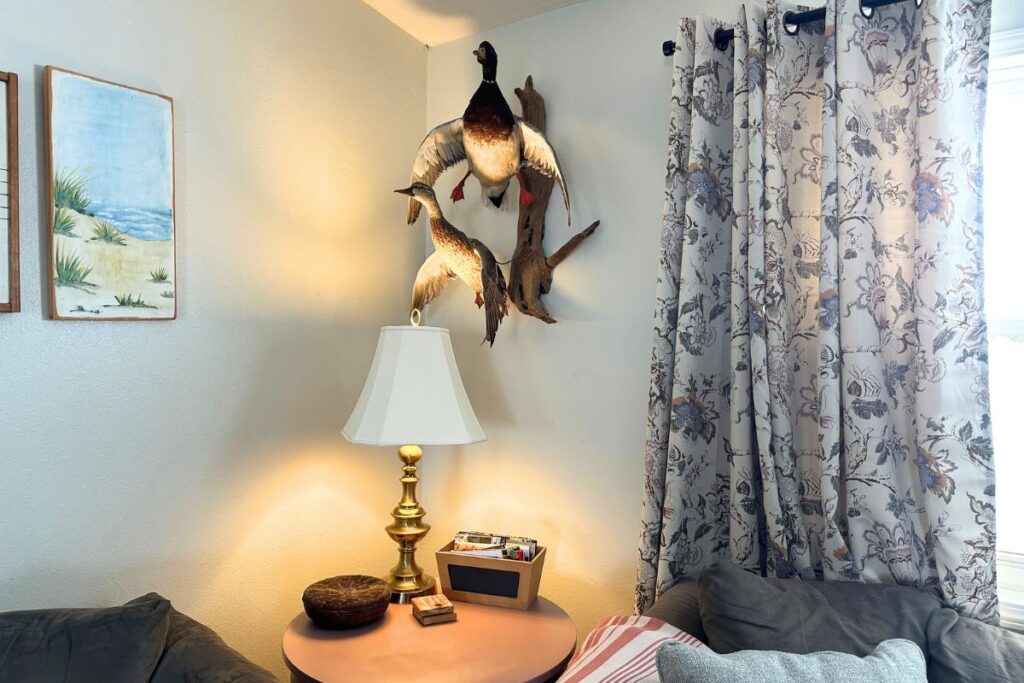
Between the texture of the fabric on my lampshade and the shade of white I chose, it now looks like a linen lampshade. This easy lampshade makeover is one I will definitely do again and again. Maybe you already have the base and are looking for a different shaped lampshade. Hit the thrift stores, and instead of only seeing what it is, look at the lampshade for what they can be. With $2 of craft paint and a little time the possibilities are endless.

Oh! I just used Apple Barrel craft paint!
You’re welcome! Glad you found it helpful!
Thanks for being my attention to that. I do try to always capitalize it, but sometimes one slips by me. 😉
Thanks for the instructions which were easy to understand. What brand of paint did you use?
Don’t mean to be picky or negative, but please capitalize Bible. It is always capitalized!