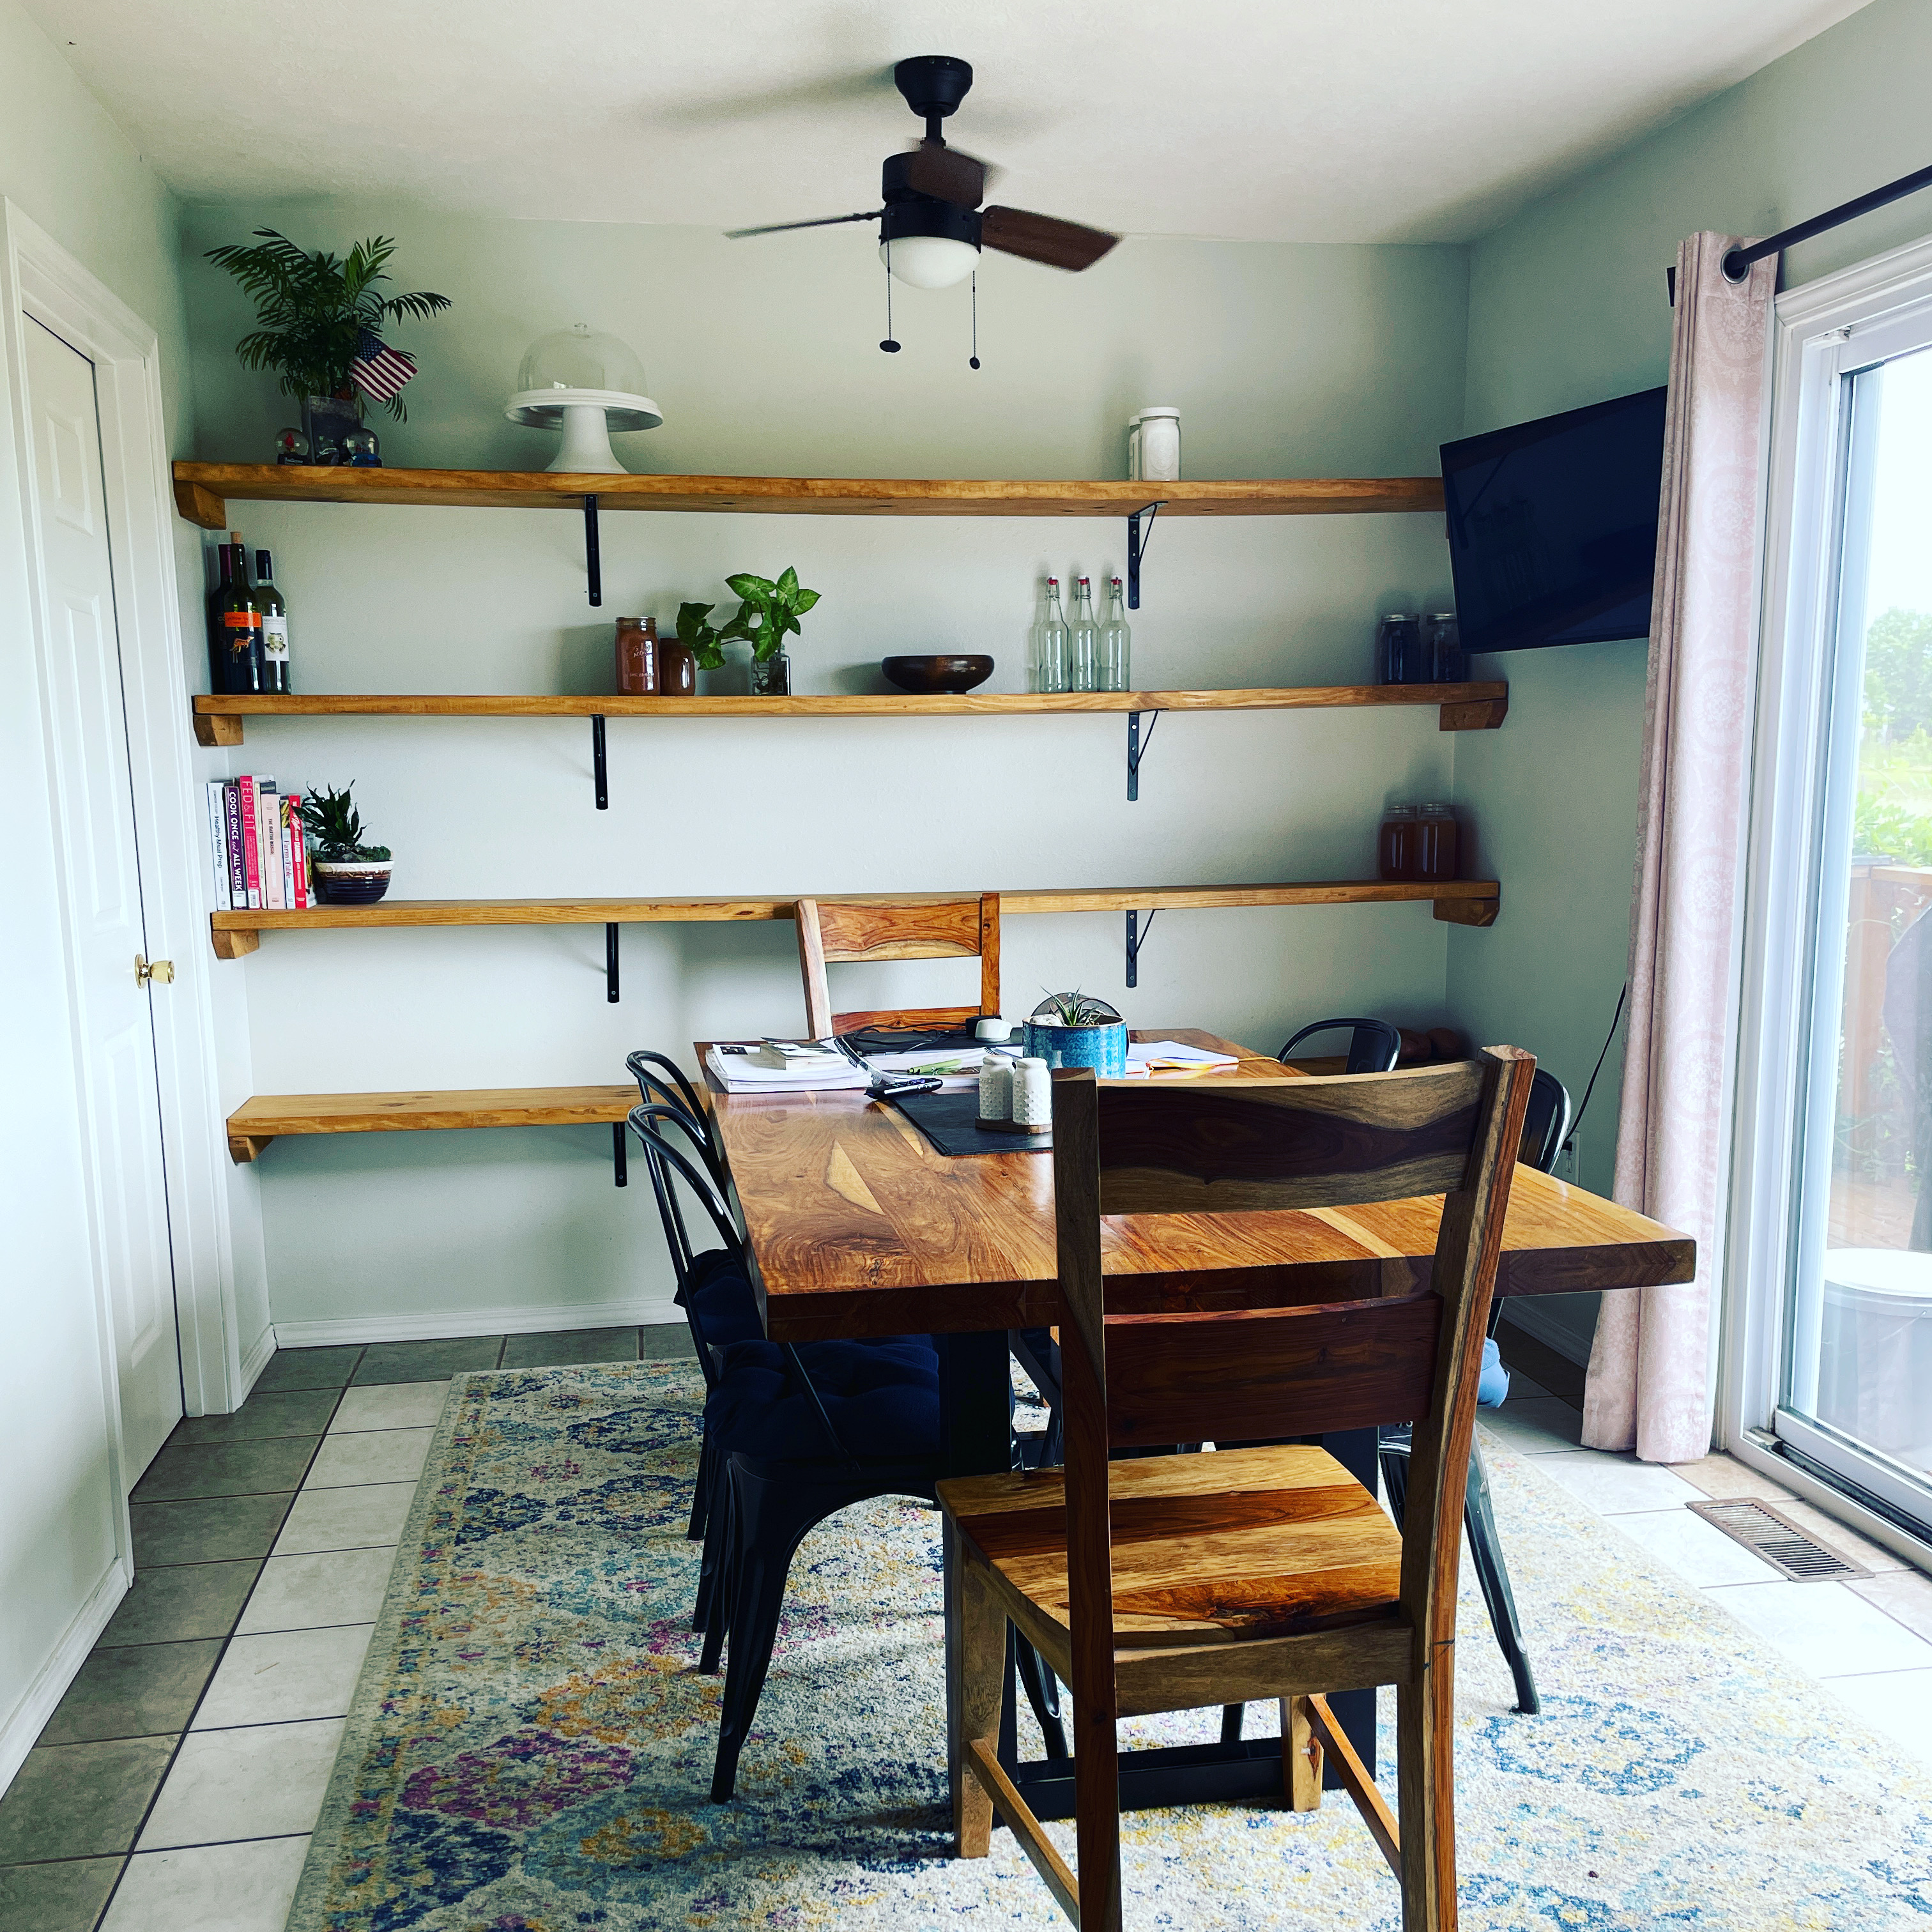
I have longed to really take off on canning our homegrown vegetables and other foods for several years. The major hold up was not having anywhere to store the bulk jars of food. Now, we have beautiful custom open pantry shelves added to our eat-in kitchen to store home-canned foods, bulk dry goods, and other shelf-stable staples. Better yet, the whole project was very budget friendly.
As an Amazon Associate I earn from qualifying purchases.
This project gave us just over 32 linear feet of shelves. Obviously that would change depending on your available wall space and needs, but this style of shelving is strong and affordable. Especially when you consider it to boxed shelf units or wire shelving. A singe wire shelf unit costs over $120 and may not be the look you are going for.
This project began with a sketch of what I visualized and cost research at Home Depot.
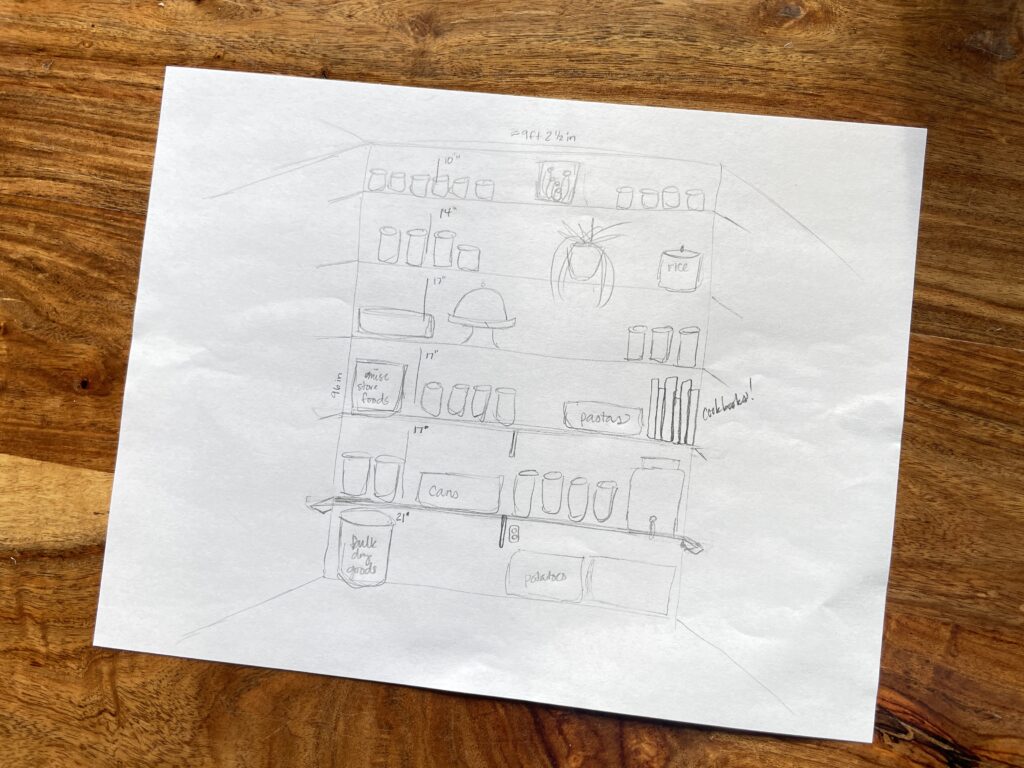
Now, I am no professional contractor or builder, but I can DIY with plenty of ambition and grit. I am also quite adaptable. Measuring is important. For instance, I originally wanted 5 shelves, but as I spaced them out I forgot to take into account the depth of shelf and therefore lost nearly 12 inches of height in spacing them out. So, take that into consideration if you are considering tackling this DIY.
Let’s continue.
SUPPLY LIST
I price-compared through a few different stores and went with Home Depot. I am linking what we used from them, but you will need to do your own research as materials costs can vary in each region.
MATERIALS:
2x12x10 lumber
2x3x8 stud
4″ wood screws
shelf brackets – these hold 320 lbs. per pair!
quart of stain – we used Early American
For our measurements and quantity we came in at about $203, after tax!
- Make sure when selecting your boards that you look for straight boards and check both sides and edges for undesirable knots or blemishes. These double as décor so you want them to look nice when finished.
CONSTRUCTION SUPPLIES:
For this project I used my miter chop saw (you could use this one), a Ryobi circular saw, Ryobi sander, sandpaper, Ryobi cordless drill and drill bits. A level and stud finder as well.
Time to go shopping!
Side note: minivans are awesome! When I fold my seats down I can slide 10 foot boards all the way forward and get my shopping list home.

Measure and Cut Your Custom Open Pantry Shelves
This part I had my husband help me on, because I wanted another set of eyes and ears as I talked my way through measuring and cutting the pieces. He measured once, and then I measured. We both got the same numbers and were ready to cut.
We cut one shelf and then did a dry fit to make sure that we could drop them in, and that they would fit nicely against the wall. Success!
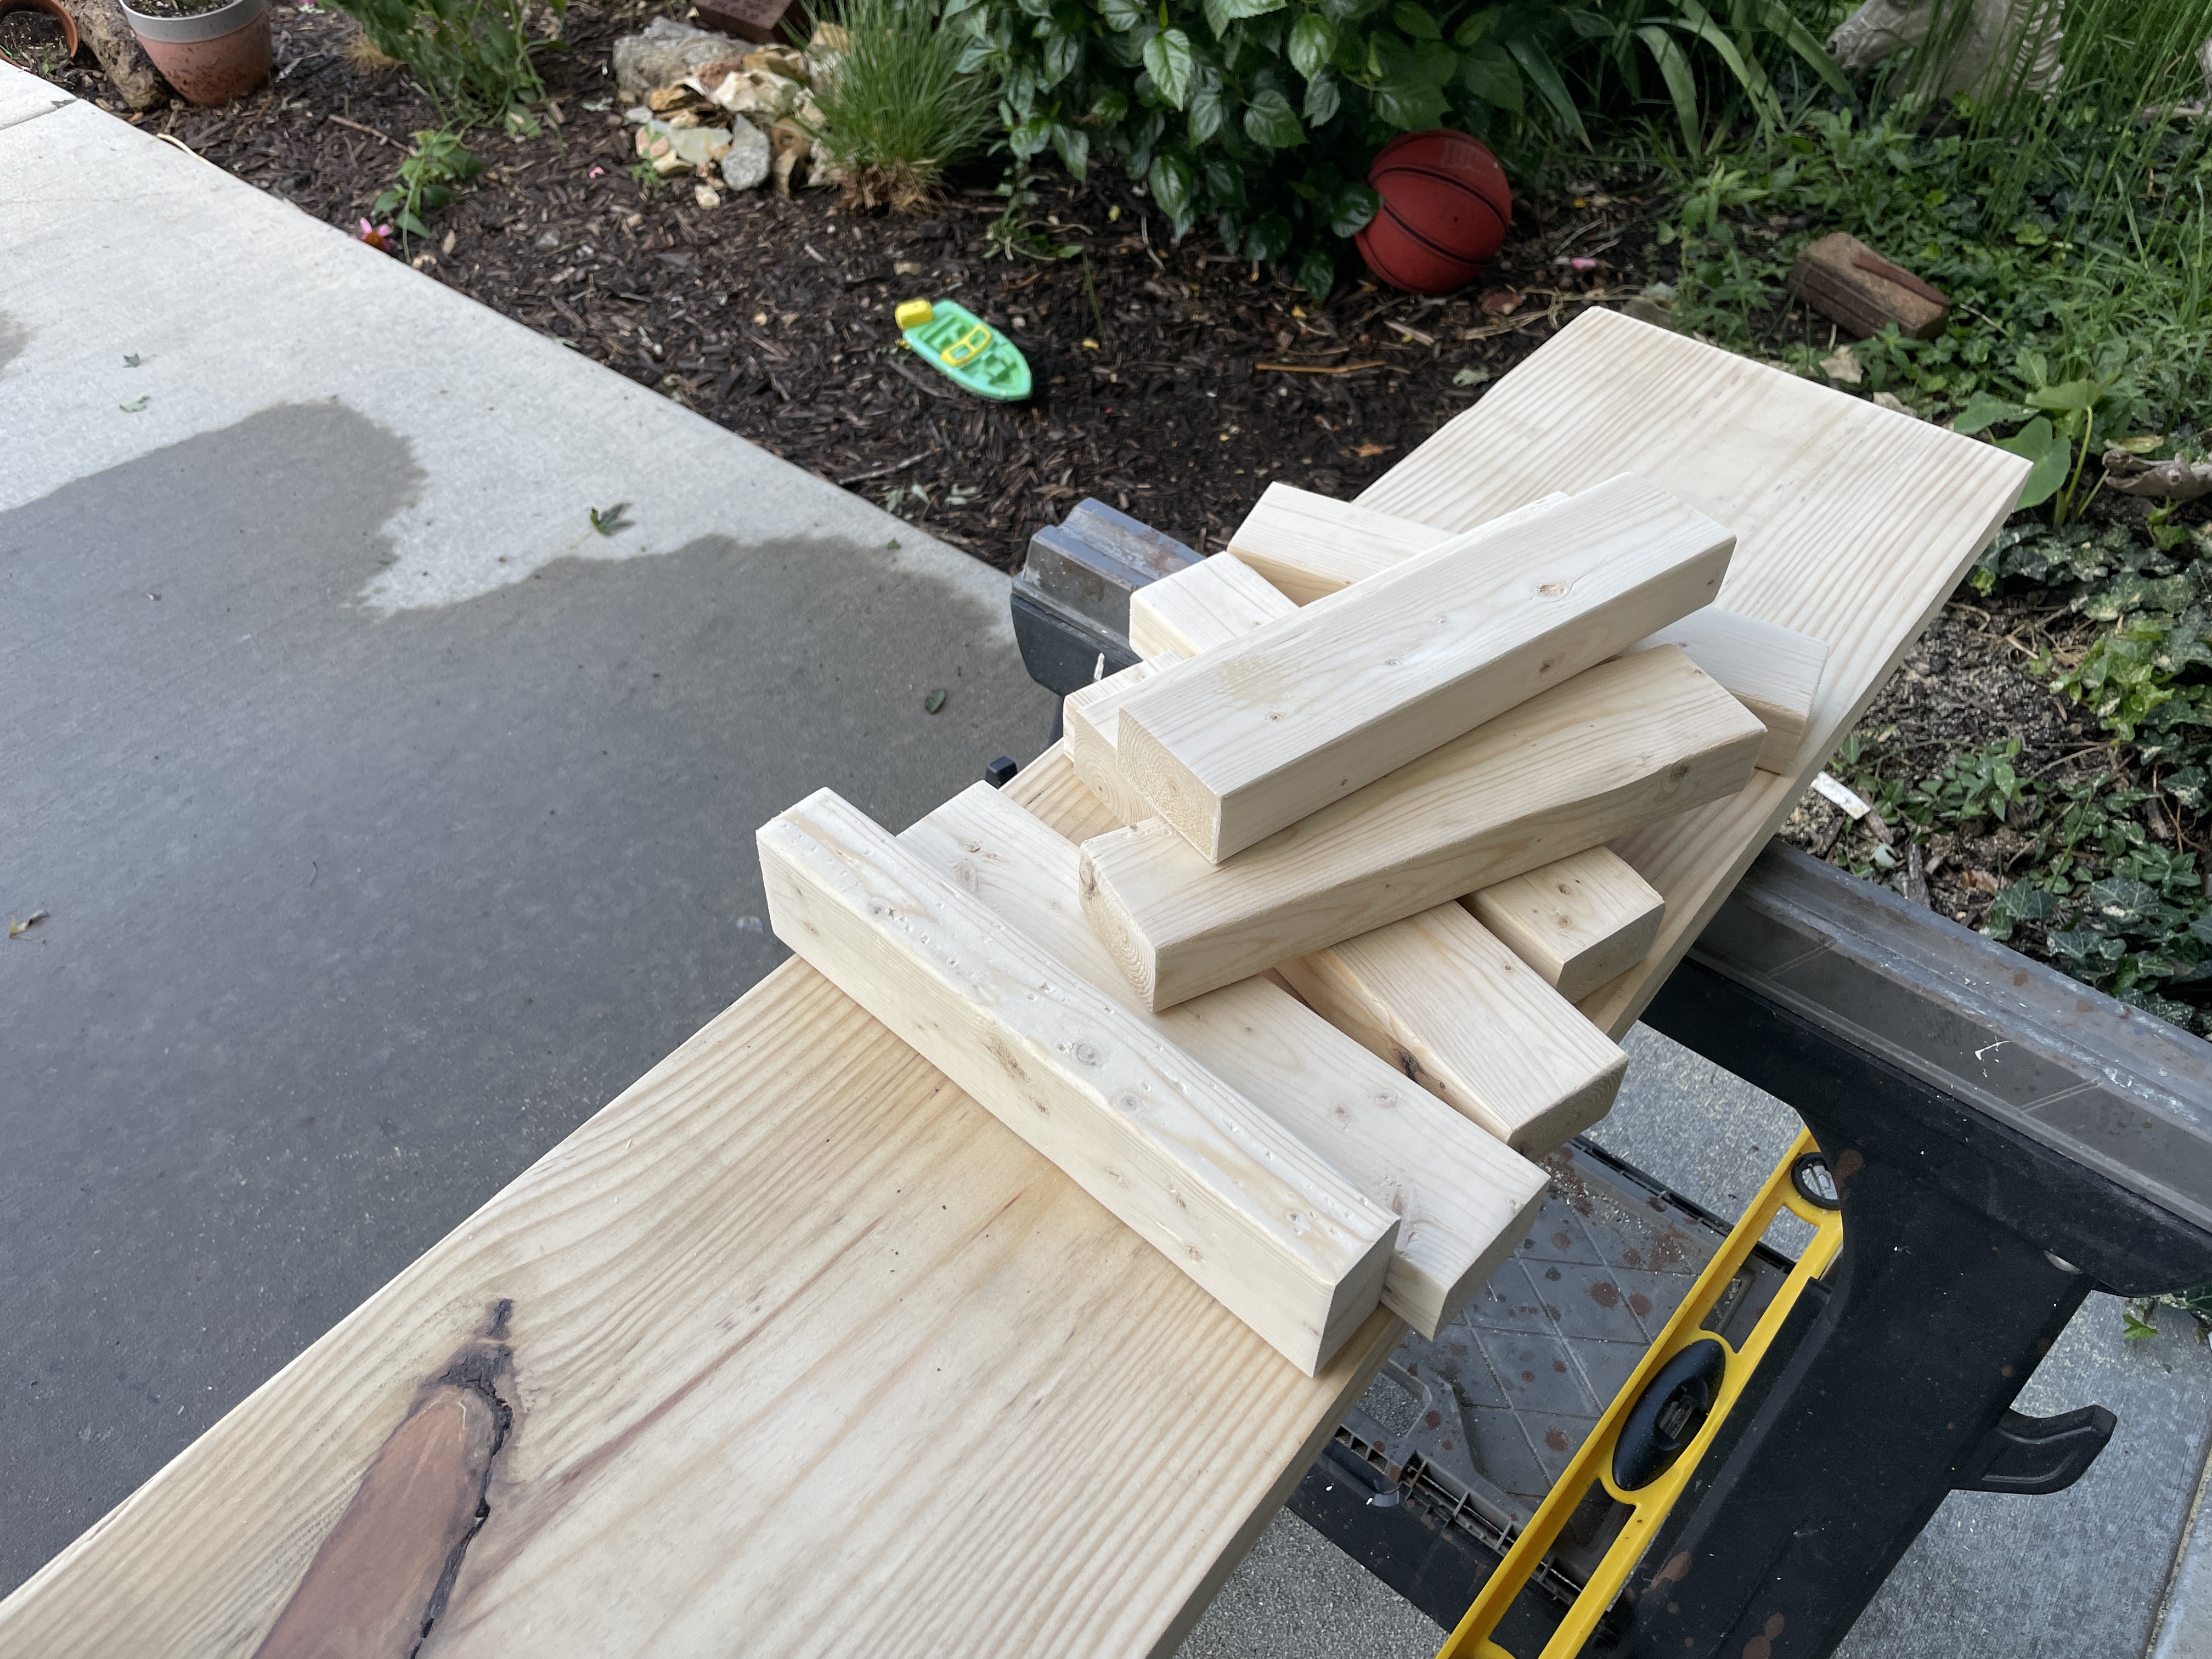
This part is absolutely specific to your own space. Since we were fitting shelves between two walls we used the 2×3 studs as our wall brackets on the ends. These we cut to the depth of the shelf and added an angled cut on the end so the appearance would be more streamlined.

I measured one inch from the top and then made a 45 degree angle cut.
Sanding
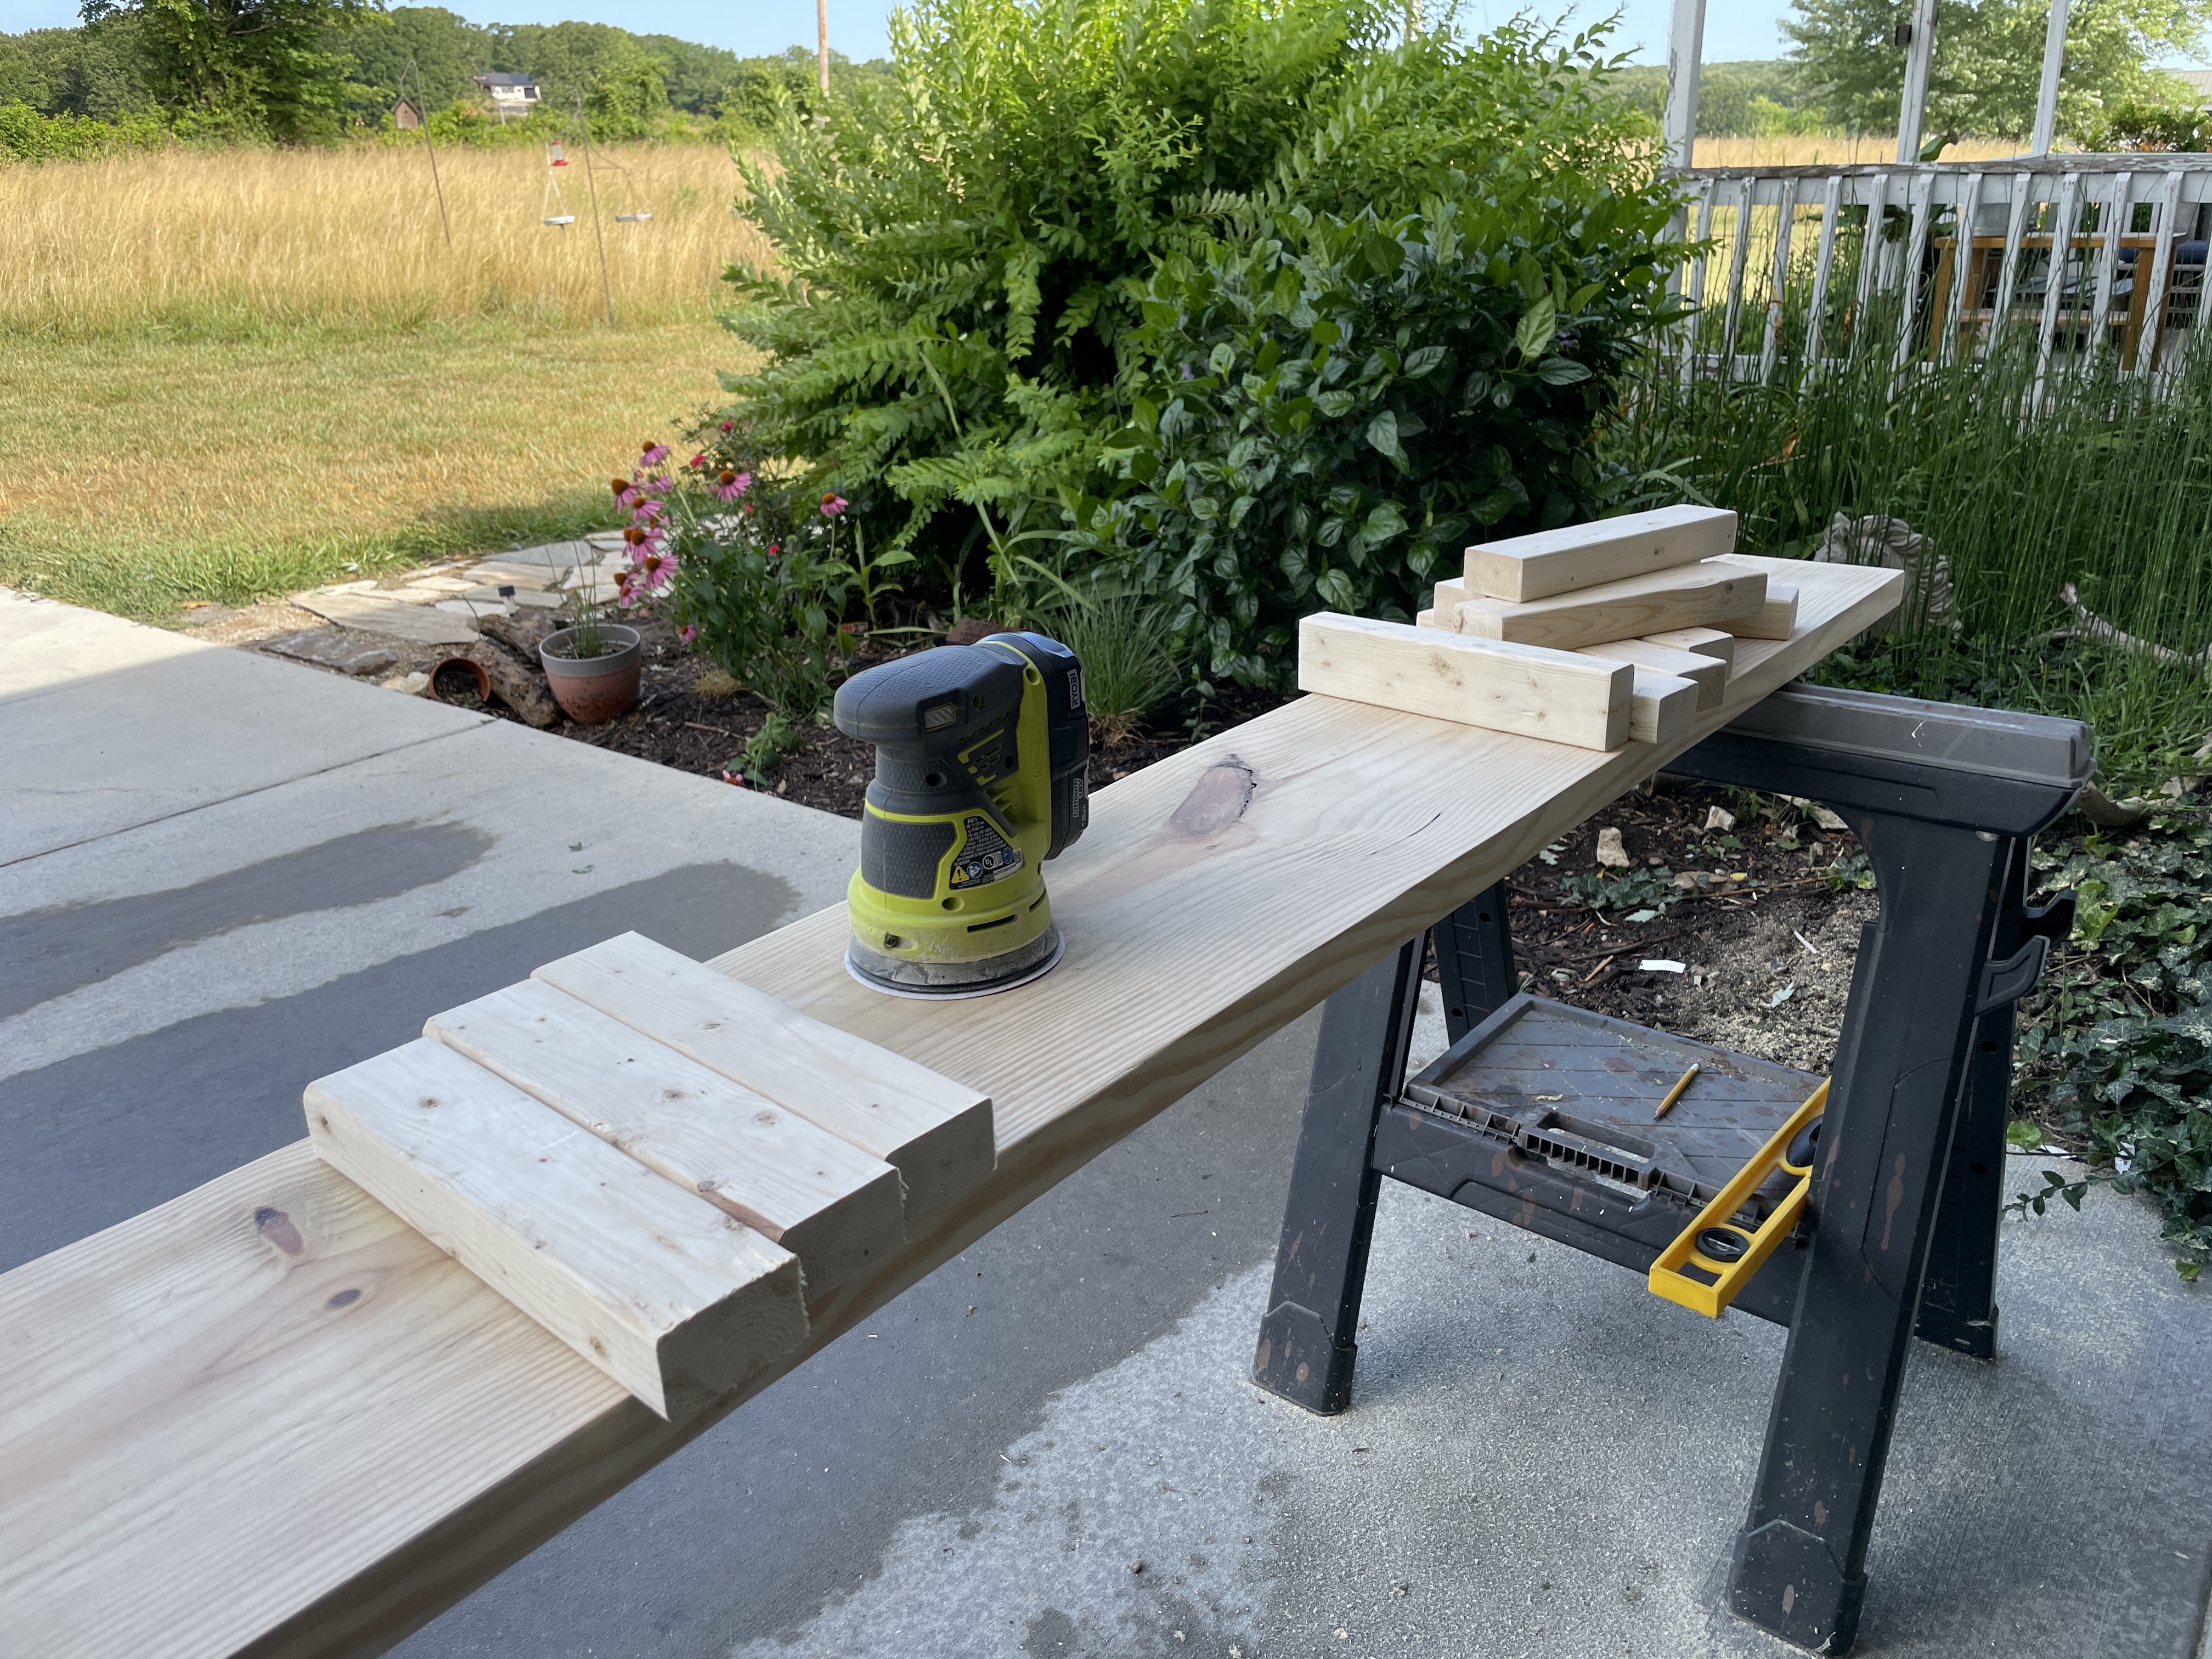
Once all of your pieces are cut, give them a thorough sanding. We just used a medium grit, all-purpose sandpaper to smooth all sides and buff out imperfections. If you wanted to get a super smooth finish, go over them all again with a fine grit sandpaper. Otherwise, you are ready for the next step!
Staining
Next, you get to enhance all of that beautiful grain by staining the wood. My favorite stain colors are Early American and Provincial. We went with Early American for this project because our dining table has similar hues woven throughout and it looked the best.
Ventilation is very important when working with high-fume materials. This is best done outdoors.

Going with the grain, apply the stain in even strokes down the length of the wood. Avoid drips and allowing the stain to pool in any one spot as you may end up with a darker spot. Then you take another cloth and buff in the stain. Allow to dry completely, and better to let it sit outside for 24 hours for the lingering fumes to dissipate.

Installation
Again, parts of this project are truly specific to your space. For this installation of our open pantry shelves, we knew we needed them to be ready to support a lot of weight from jars of food. Yet, we also wanted them to look nice because they are out in the open in our dining nook. For these reasons we chose the metal brackets to support the middle of the shelves since they are just over nine feet long.
You also want to consider your shelf height in relation to your ceiling, along with how many shelves you are wanting. Originally I wanted five. And this is where I goofed in my measuring.
You need to take into account the thickness of your shelves as you measure. Yes, that may be obvious to many. However, in my excitement to do the project, I forgot that small but important detail.
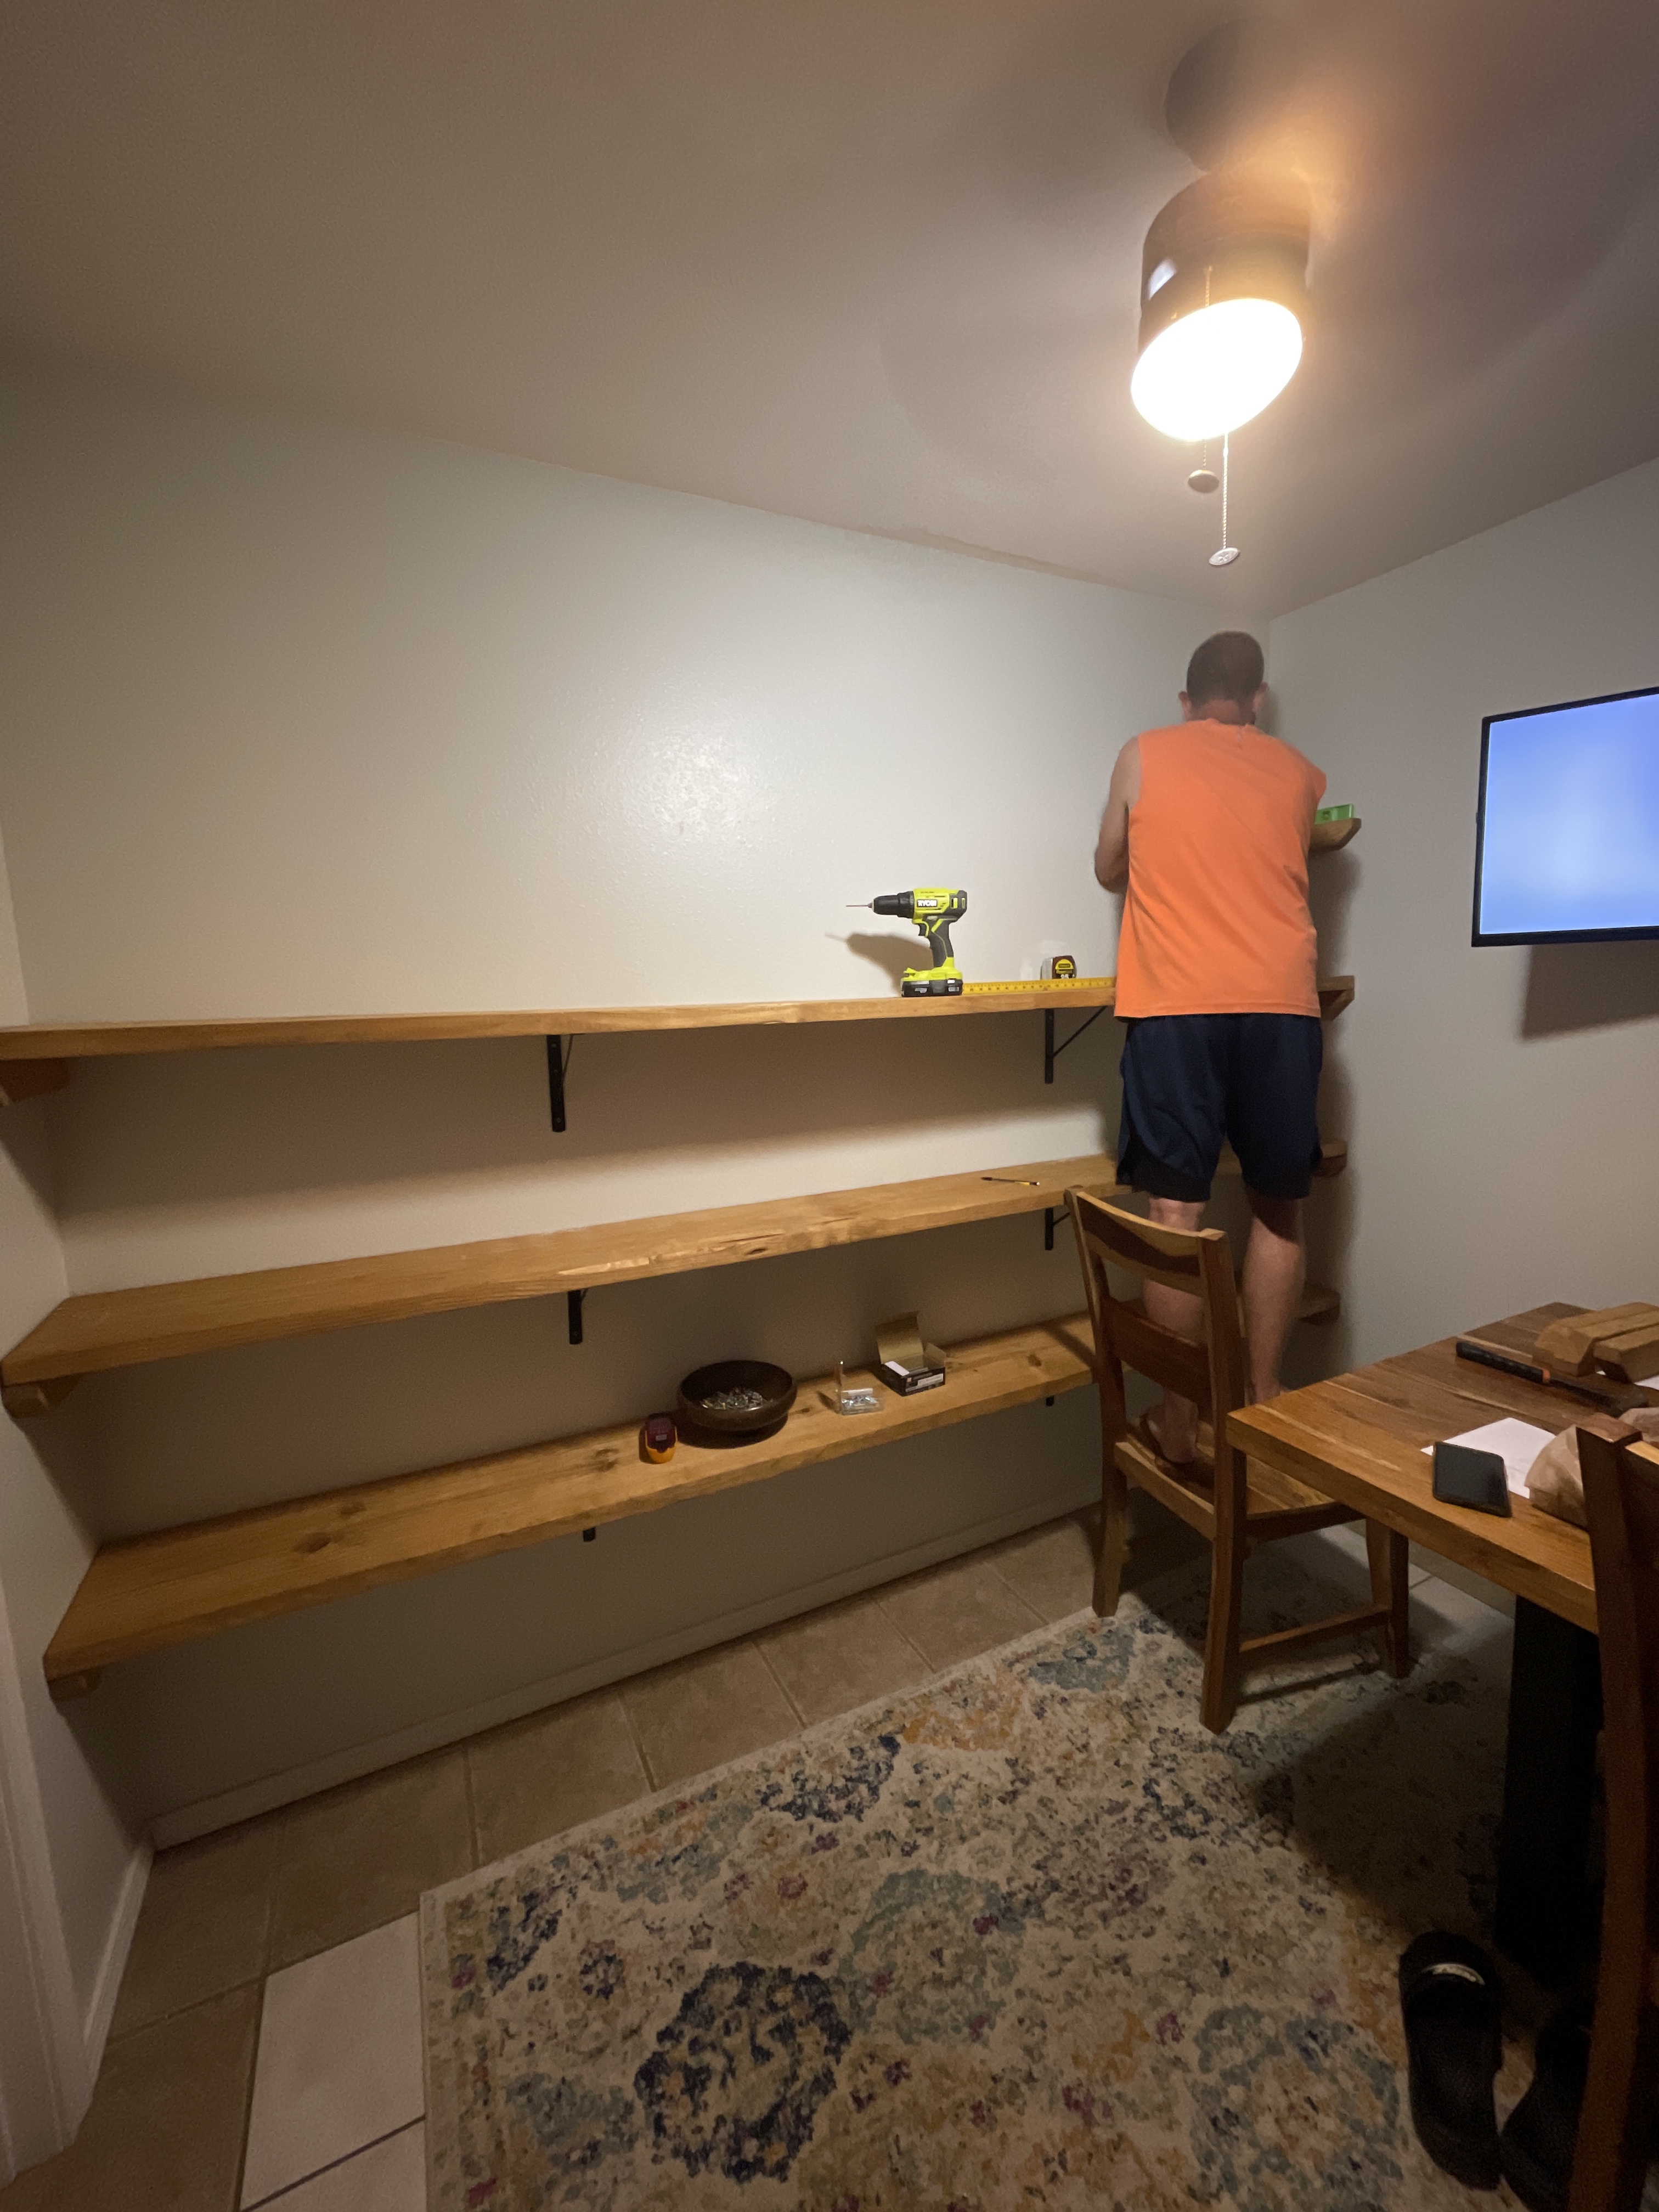
We worked from the floor up in our installation. Marking the height we wanted the first shelf, we used the stud finder to locate our studs. In our installation we knew the bulk of the weight was going to fall on the center metal brackets. So our end wood brackets didn’t need to carry as much weight as just to anchor the shelves and support the sides.

Using a 4″ wood screw and our level, we attached one side wood bracket to the wall. Then, we brought the shelf over, setting one side on the wood bracket. Placing the level in the middle of the shelf, we then placed and marked where the opposite wood bracket would go for a level pantry shelf.
After setting the shelf in on both installed wood brackets, we moved on to the metal brackets. One pair of these supports over 300 pounds. Using the stud finder again, we marked where the metal brackets would go. In our case, these came about 31 inches in from each side. Perfect for distributing the weight.
- Side-note: predrilling is a must when working with wood. It keeps you from splintering and cracking your lumber, and makes installing the screws so much easier.
Once you have your stud location marked, use the level to attach the metal bracket to the wall. Then you will attach the metal bracket to the shelf. Now you have a sturdy and beautiful open pantry shelf!
Continue moving up the wall, repeating the steps, until you have your custom open pantry shelves fully installed.
Styling and Utilizing Your Custom Open Pantry Shelves
When I first pitched this idea to my husband, I told him I really wanted to marry function with aesthetics. This is a storage solution for our home, but I wanted it to look beautiful because we would see it everyday. I don’t know about you, but I think food in jars is stunning. Especially when it is home-canned food from your own garden, or just from your own kitchen.
We are in the middle of the summer months when doing this project. Our garden is just starting to ripen and be ready for some harvesting. Having this project completed and ready to hold our garden bounty has made me really anticipate this summer harvest. Canning books are on the ready for transforming cucumbers and tomatoes into pickles and salsa!
Proverbs 31 talks about the virtuous wife. I was meditating on this passage quite a bit during my week of projects. In regard to this open pantry shelf project, specifically the verse,
She rises while it is yet night
Proverbs 31:15
and provides food for her household
and portions for her maidens.
There is something wonderful about cultivating the earth with your hands, and as a family, bringing forth food, and then taking that provision of God and feeding your family with it. Gardening is not without its pitfalls and frustrations. We just suffered a blister beetle attack. But then I think about back in Genesis, when God decrees the curse on Adam (and all mankind) for breaking His command;
17 And to Adam he said,
“Because you have listened to the voice of your wife
Genesis 3:17-19
and have eaten of the tree
of which I commanded you,
‘You shall not eat of it,’
cursed is the ground because of you;
in pain you shall eat of it all the days of your life;
18 thorns and thistles it shall bring forth for you;
and you shall eat the plants of the field.
19 By the sweat of your face
you shall eat bread,
till you return to the ground,
for out of it you were taken;
for you are dust,
and to dust you shall return.”
Thinking about this draws me closer to God. Life can be hard here on earth. It can be a struggle to get food from the soil; thorns and thistles and pests working against me. But I know there is a new heaven coming. And in that time there will be no laboring or hunger or thirst. We will be fully satisfied and cared for in Christ. That is my peace.
Strength and dignity are her clothing,
Proverbs 31:25
and she laughs at the time to come.
Christ is my strength; my identity in Him is my dignity. I know only hope for the time to come, which brings me full joy. I can delight in the perfect and sovereign will of God.
What are you building your custom shelves for? Ours are now holding our homeschool books as our home library grows! Leave a comment below!

Beautiful shelves! Love your drawing first— so Joanna Gaines of you! 😉
Your shelves look great! That will be a wonderful space for all of your home canned jars, and bulk food. That is one of our next projects also!