As an Amazon Associate I earn from qualifying purchases.
Do you have a dress you love on the hanger? Yet, when you put it on you just don’t feel good in it? You are tempted to donate it. You hesitate though, because you really love it. What if you make the dress sleeveless and transform it with a simple DIY?
I have three dresses, well, four actually, that are like that in my own closet. Every time I put them on to wear them I felt like my shoulders looked wide and boxy in them. They fit great and felt great everywhere else. Instead of donating these dresses I decided to remove the sleeves and see if that fixed them for me.

Now I am going to show you how to make your dress sleeveless!
Before You Begin
I recommend you try the dress on and roll the sleeves under. You can then visualize how the dress will look as a sleeveless dress.
Do you like the neckline after the sleeves are removed? You may decide that losing the sleeves really won’t make you love the dress on. Then just donate it as is.
However, you may confirm that removing the sleeves will make the dress more flattering on you! Now, you feel more confident in it, so let’s get altering!
Before making any cuts or alterations I would recommend ironing the sleeves. If they have been shoved in your closet and the fabric has creases, then it could be difficult to cut evenly.

Make the Dress Sleeveless
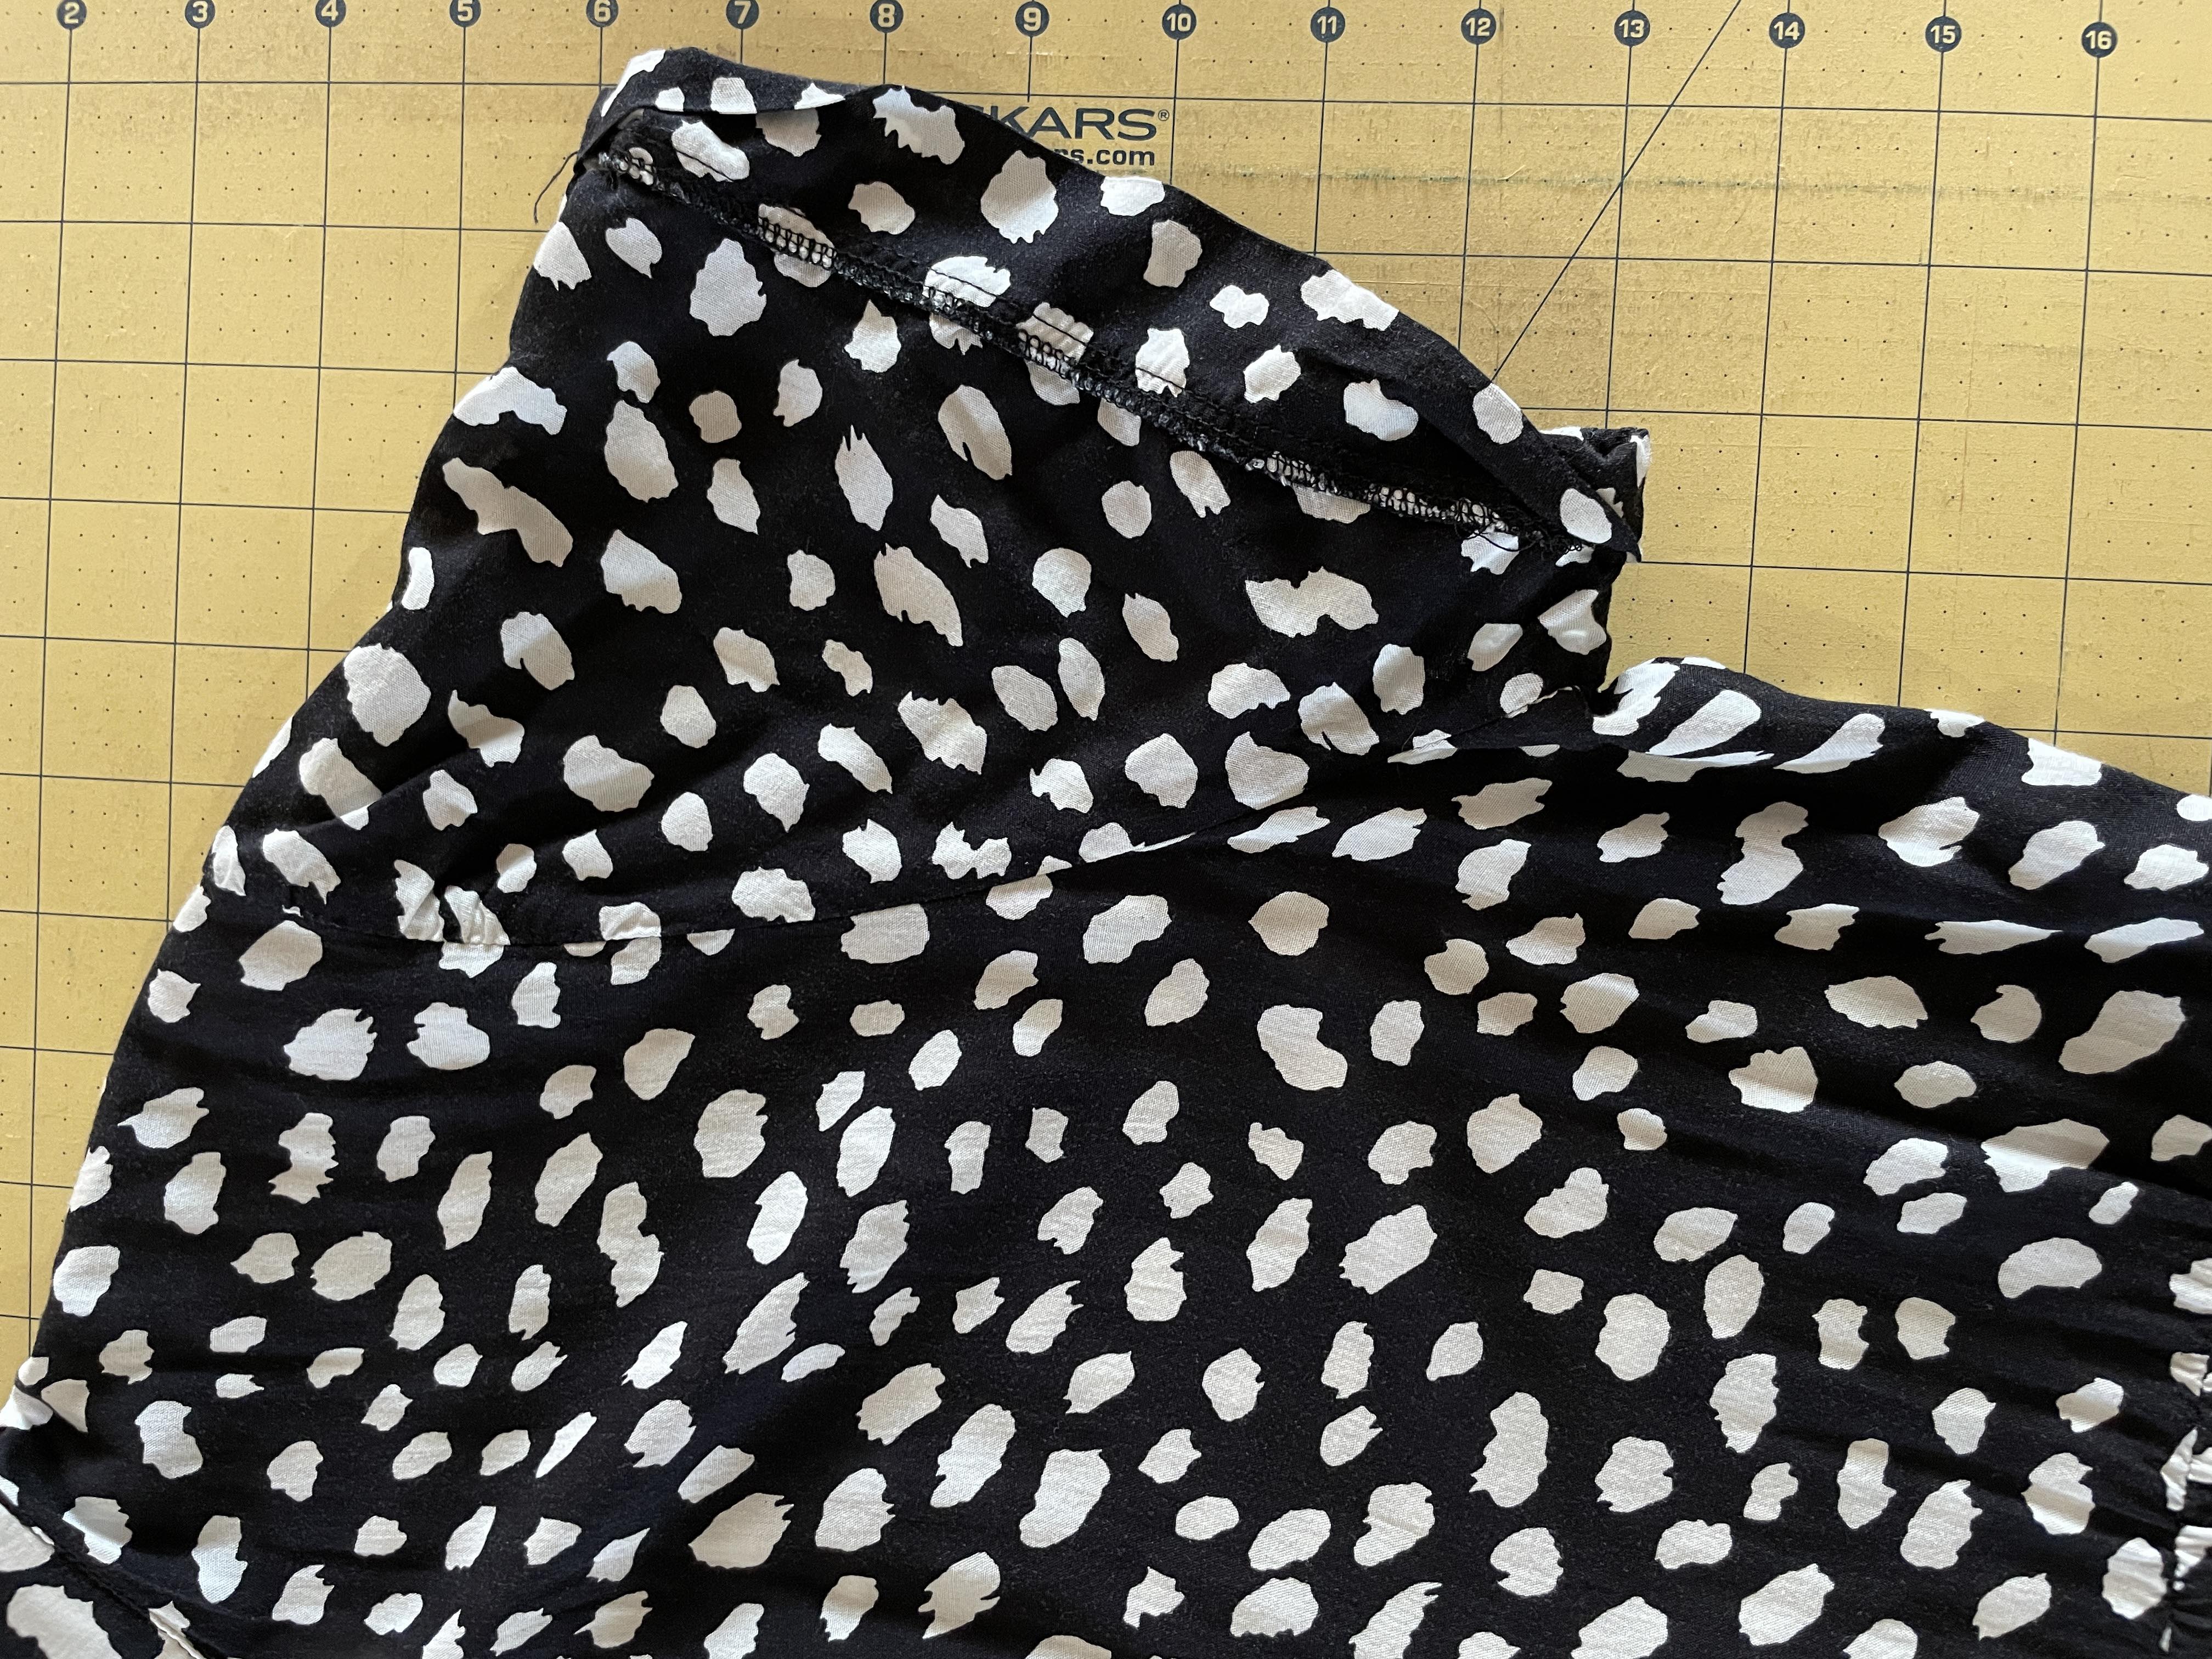
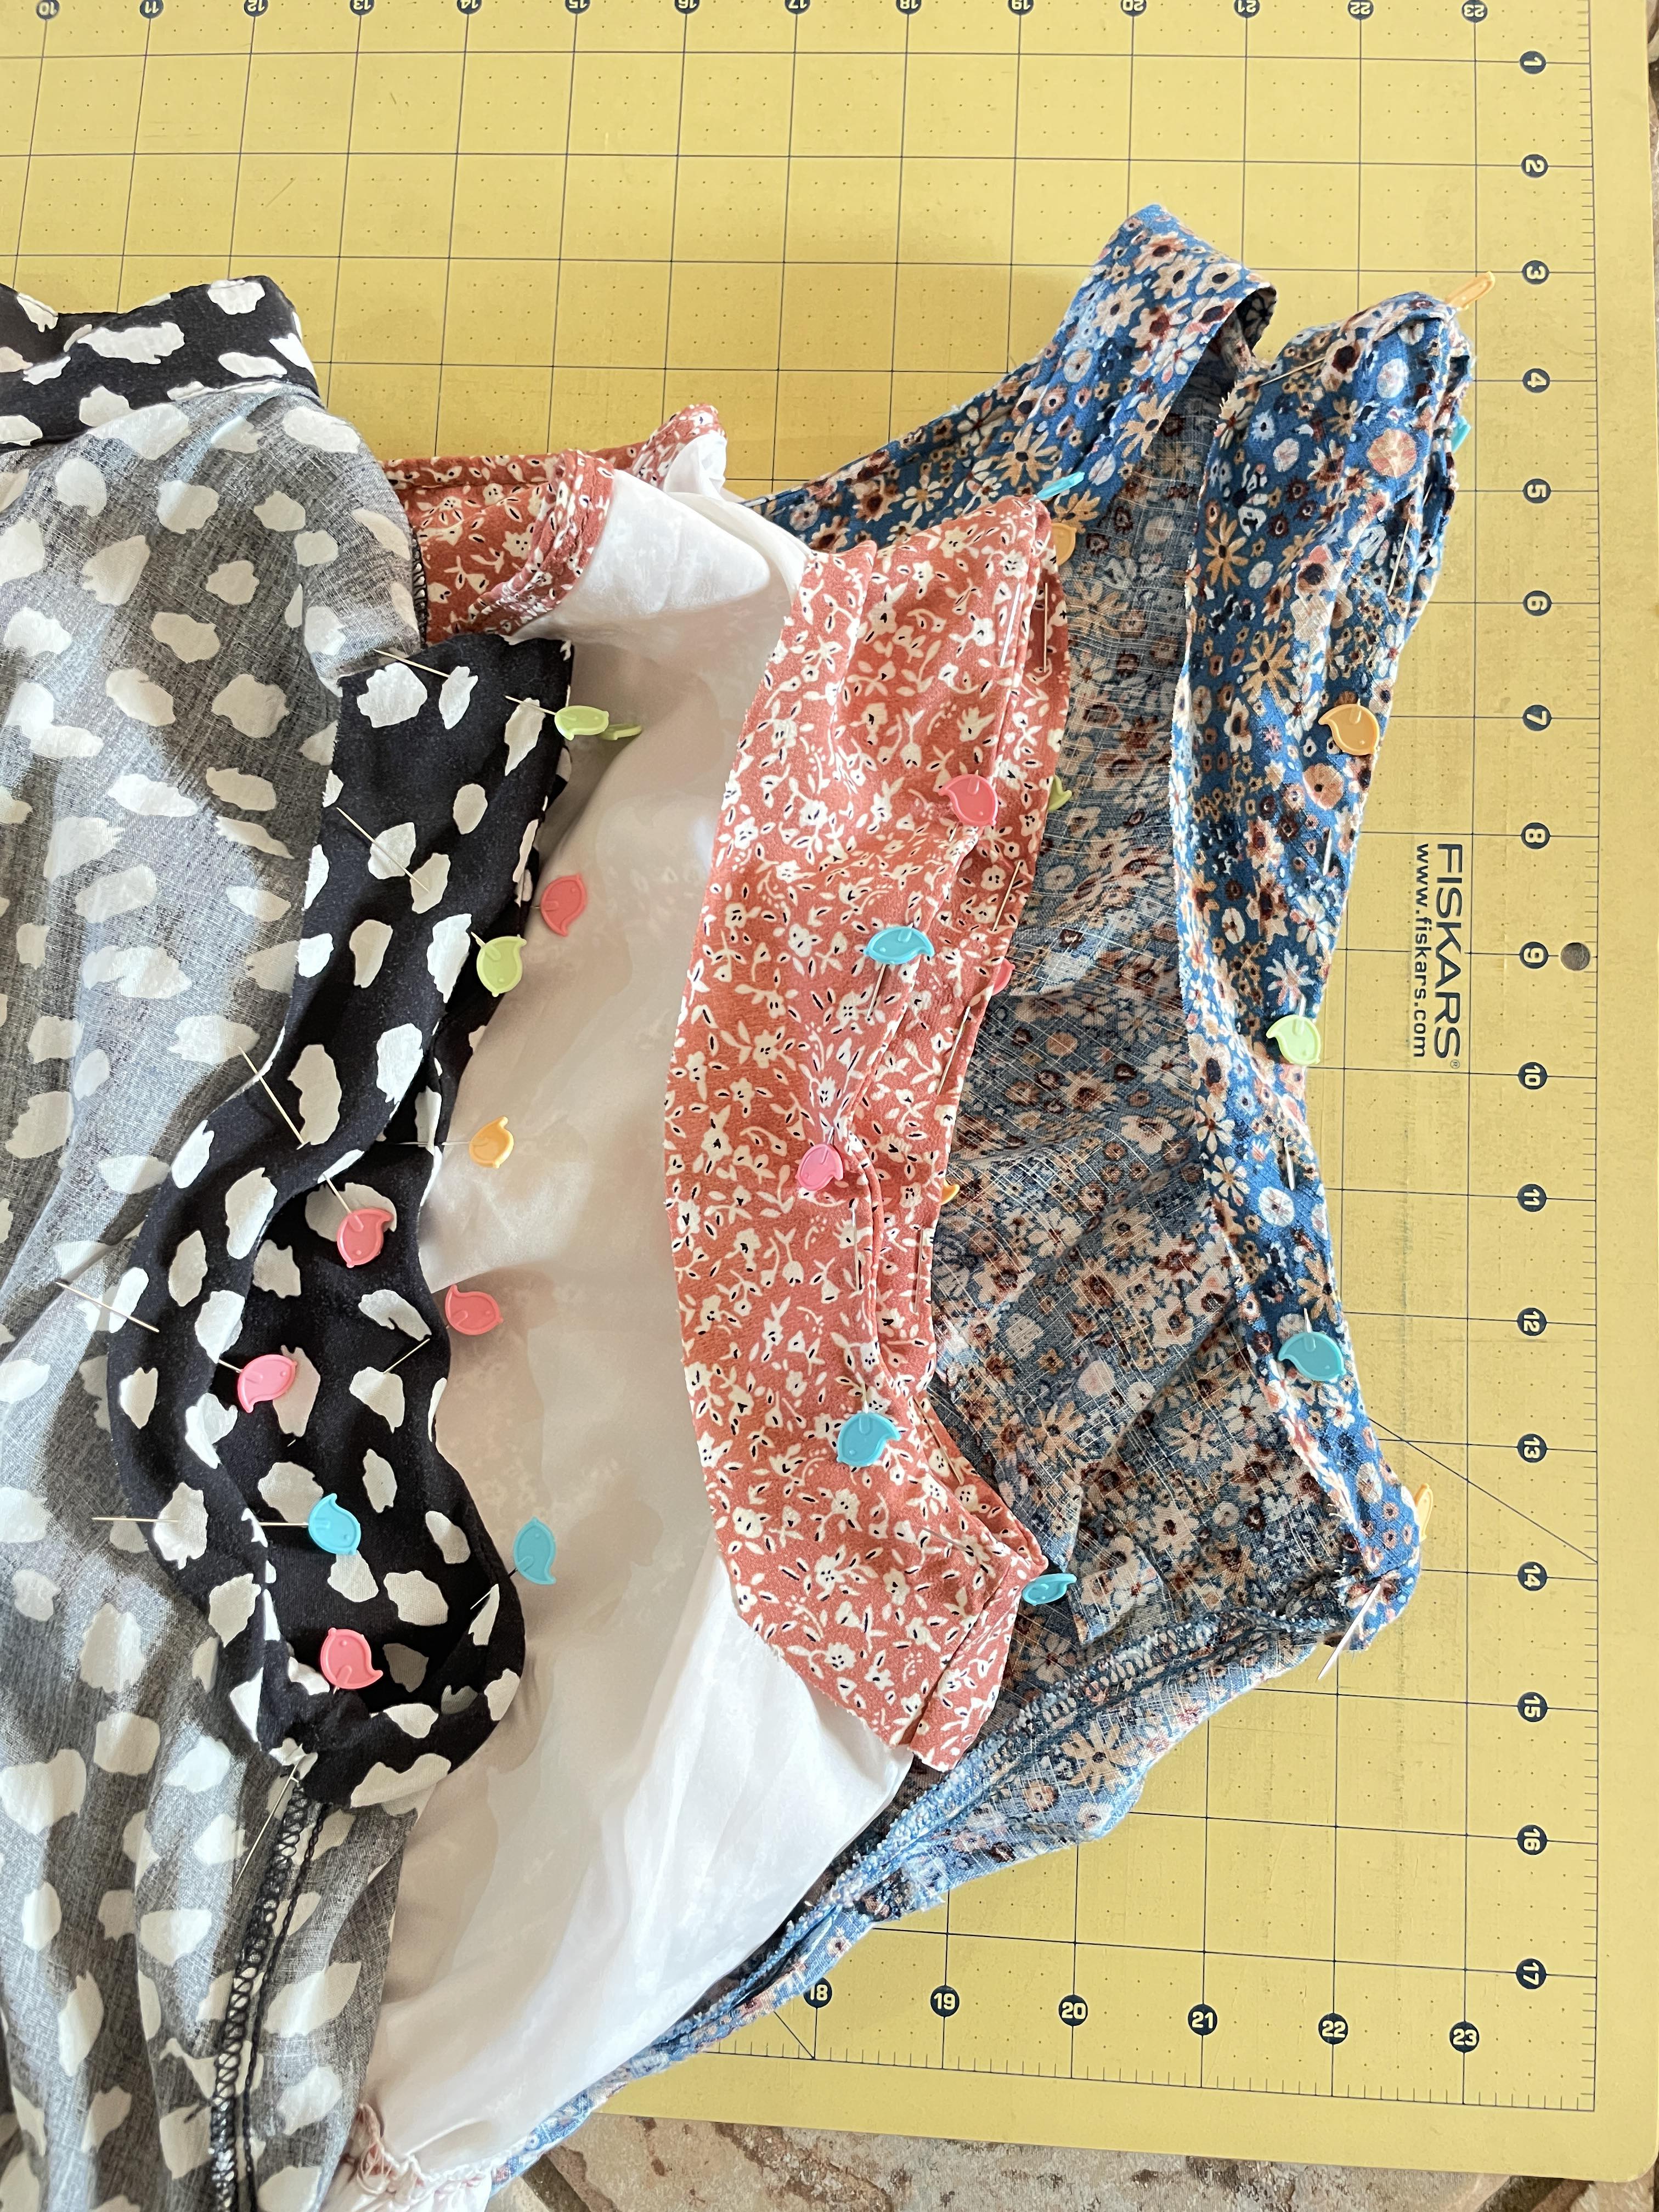
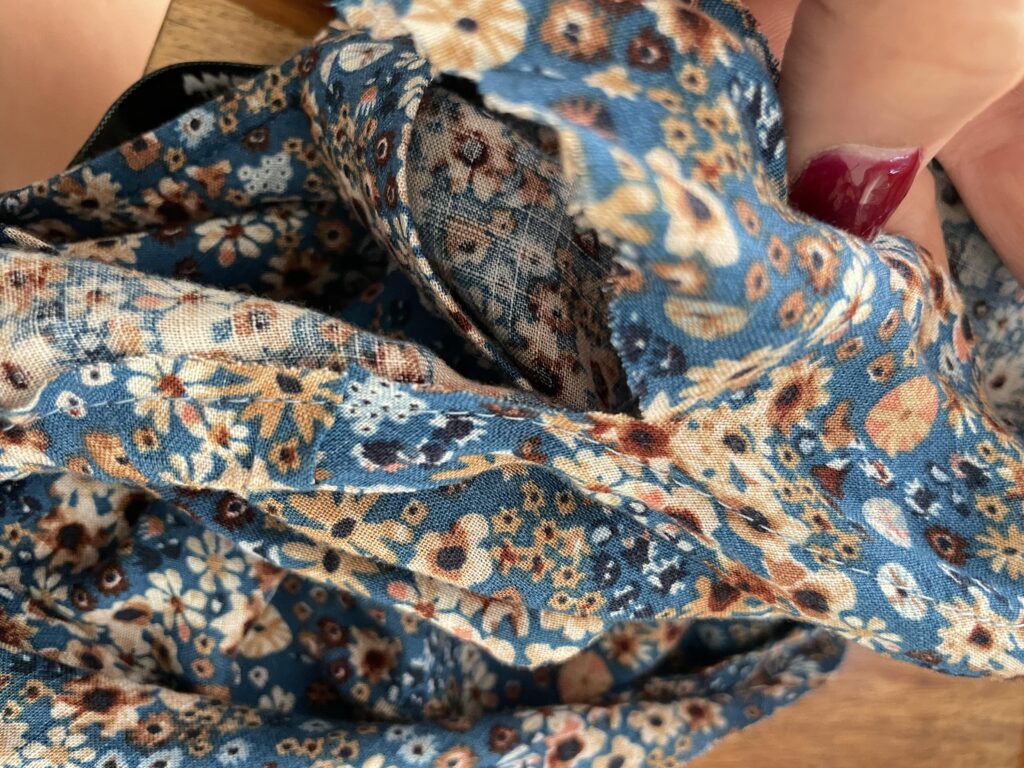
You will want to lay the dress on a table or flat surface and smooth the sleeves out.
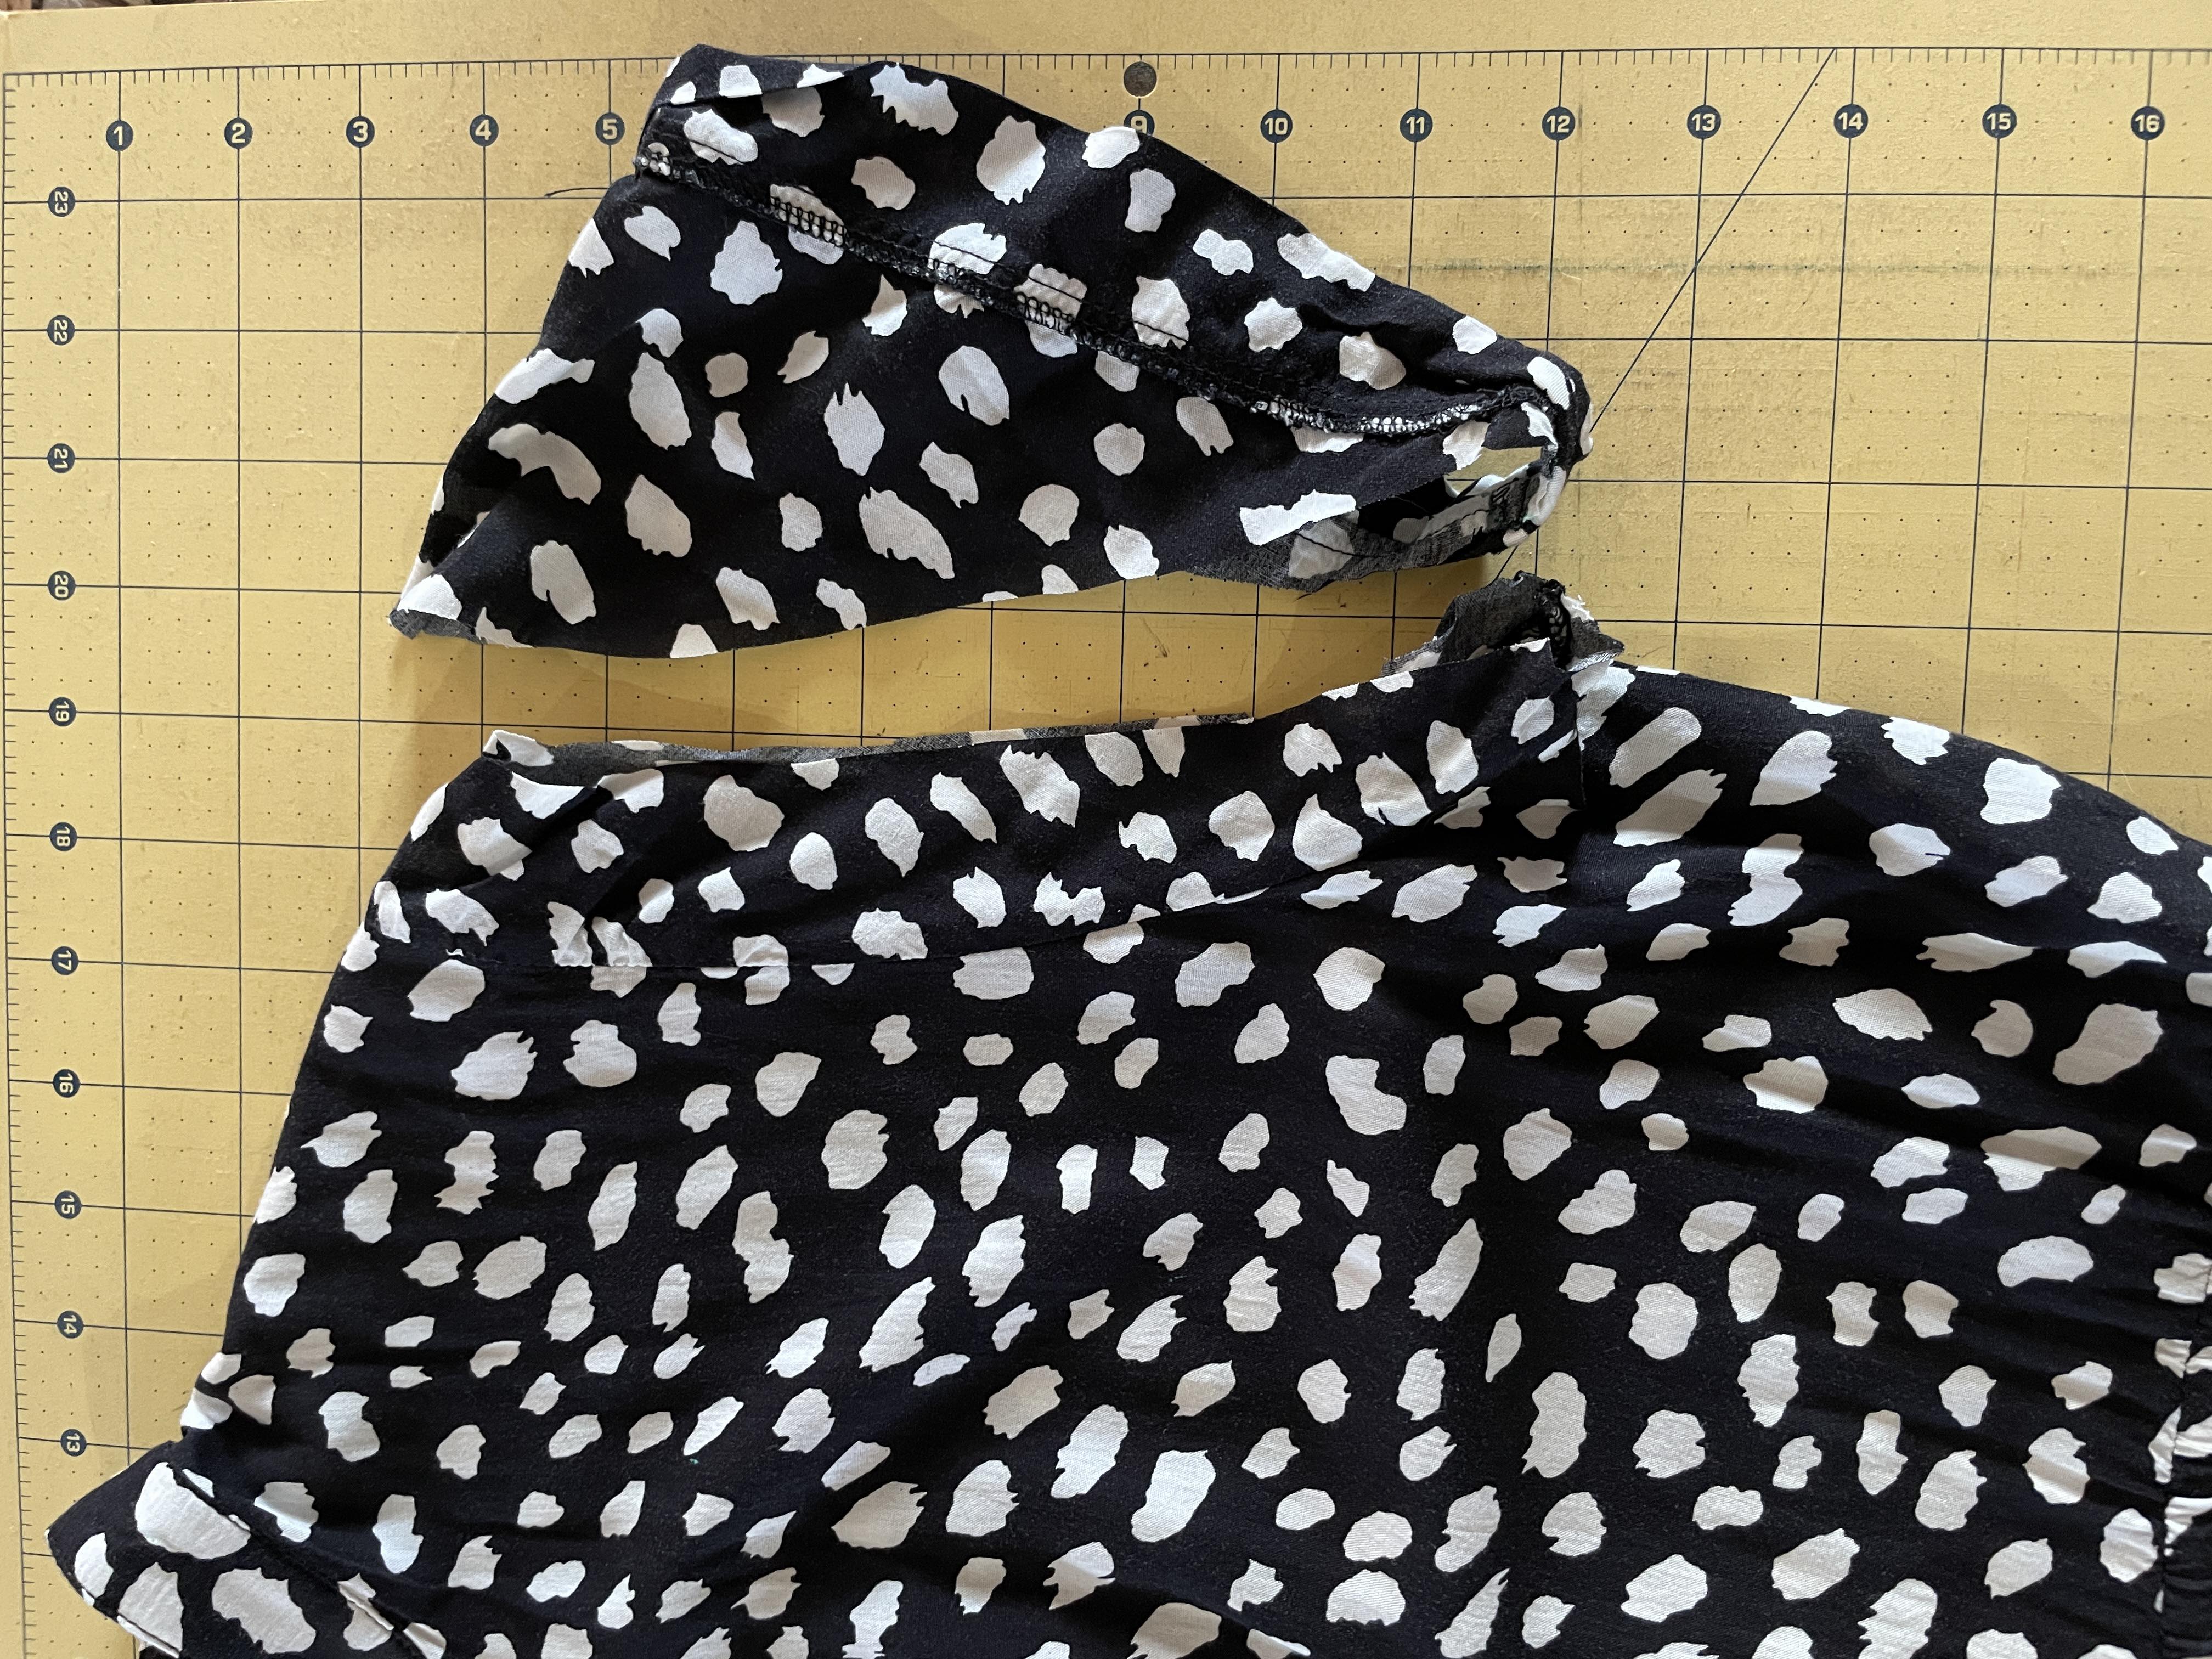
Following the shoulder seam of the dress, cut away the sleeve leaving 1″ of fabric to work with.
Remove the same amount on the other sleeve. 1″ may seem like a lot of fabric, but don’t worry, it will get trimmed in a later step. And it makes the pinning process less fussy.
Pinning the Sleeves
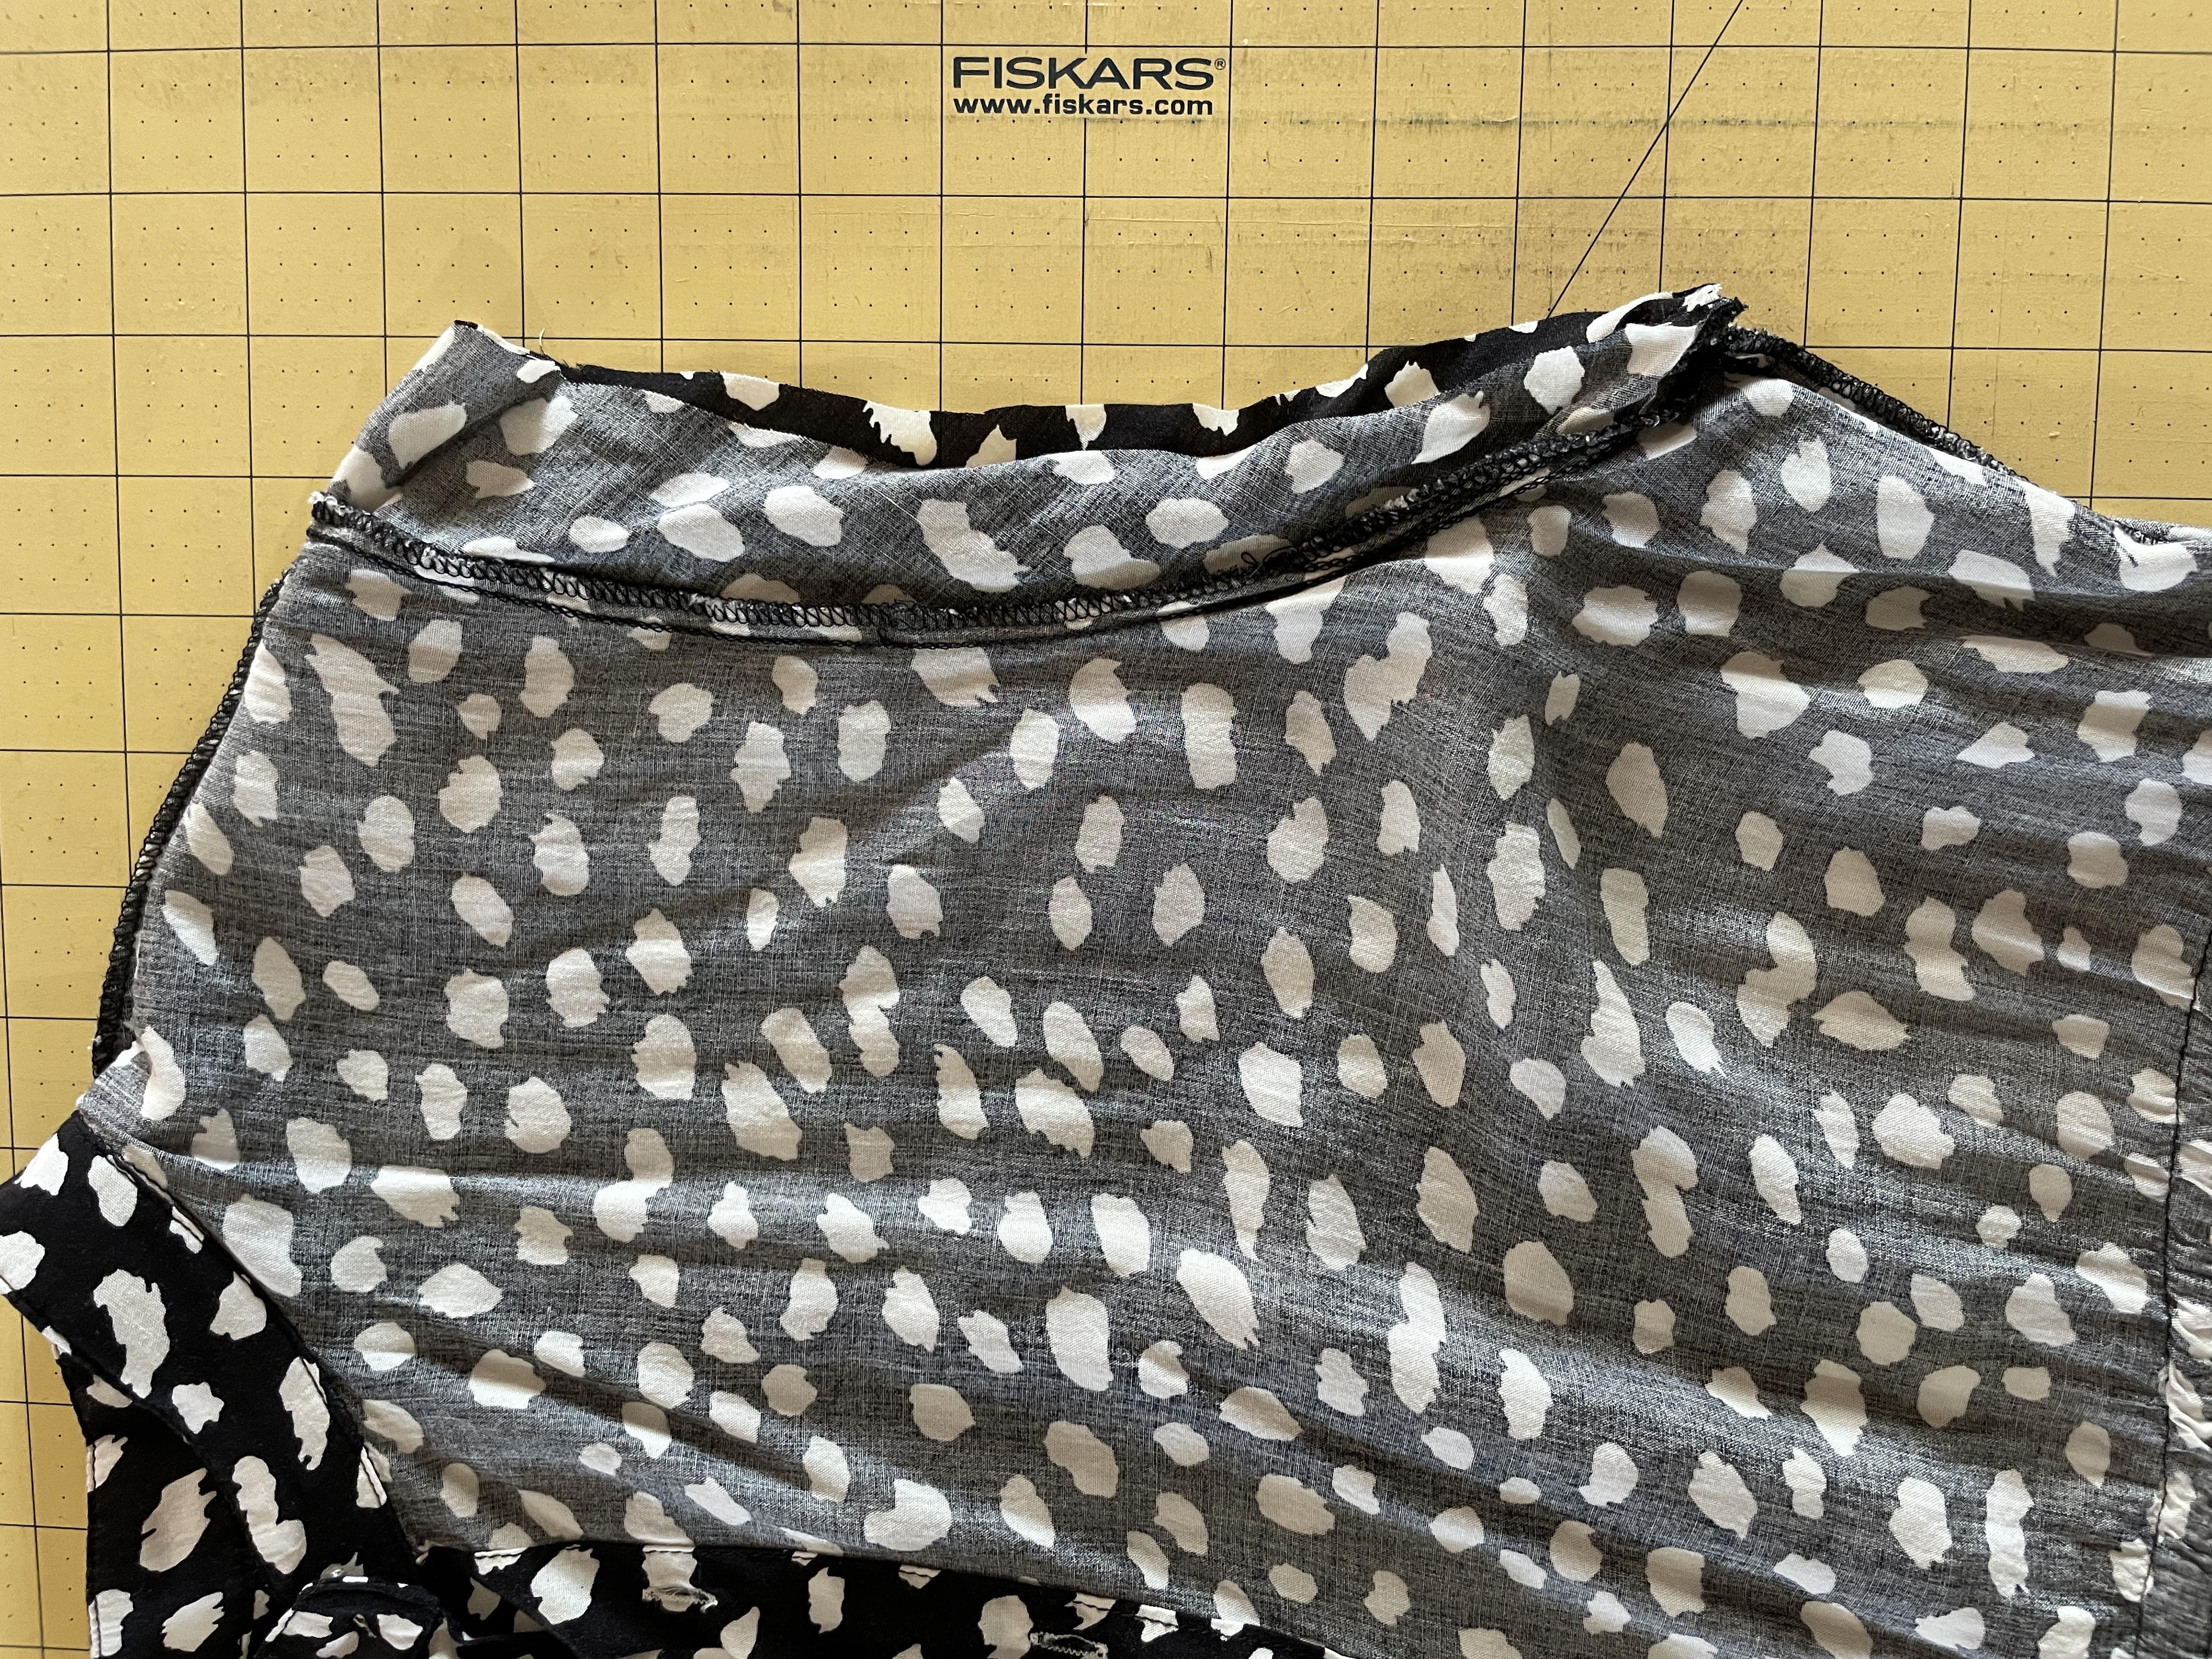
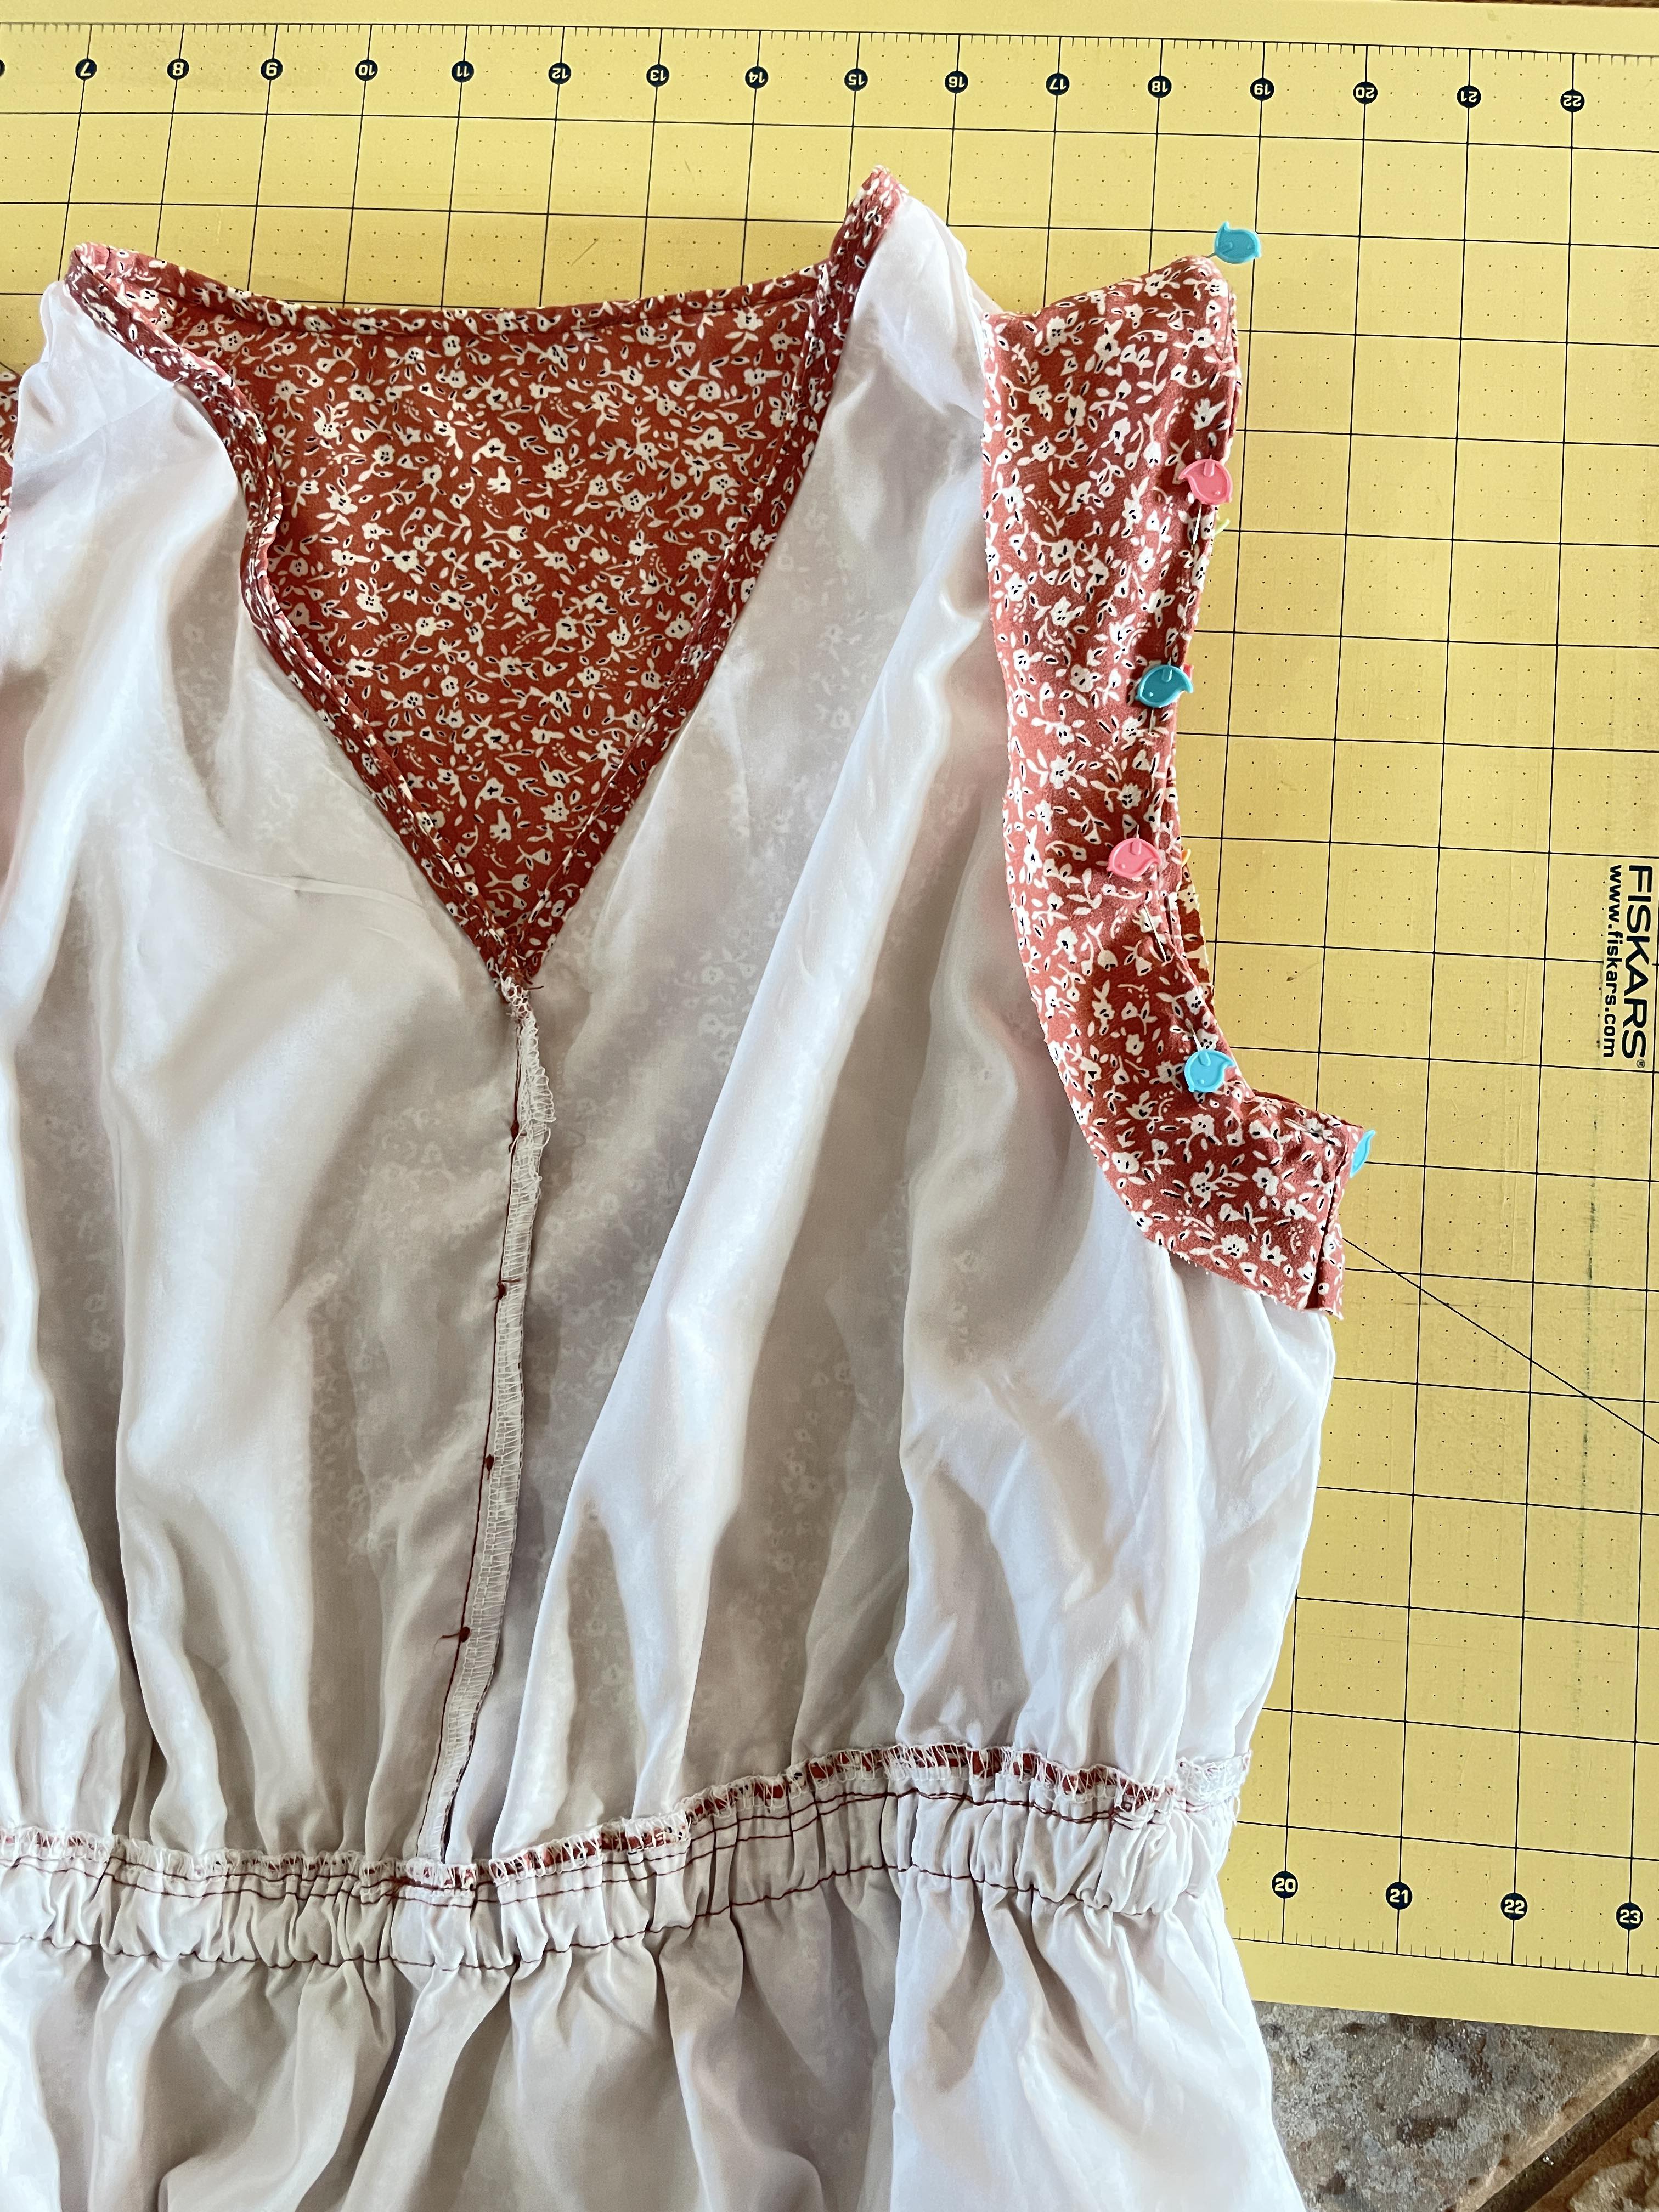
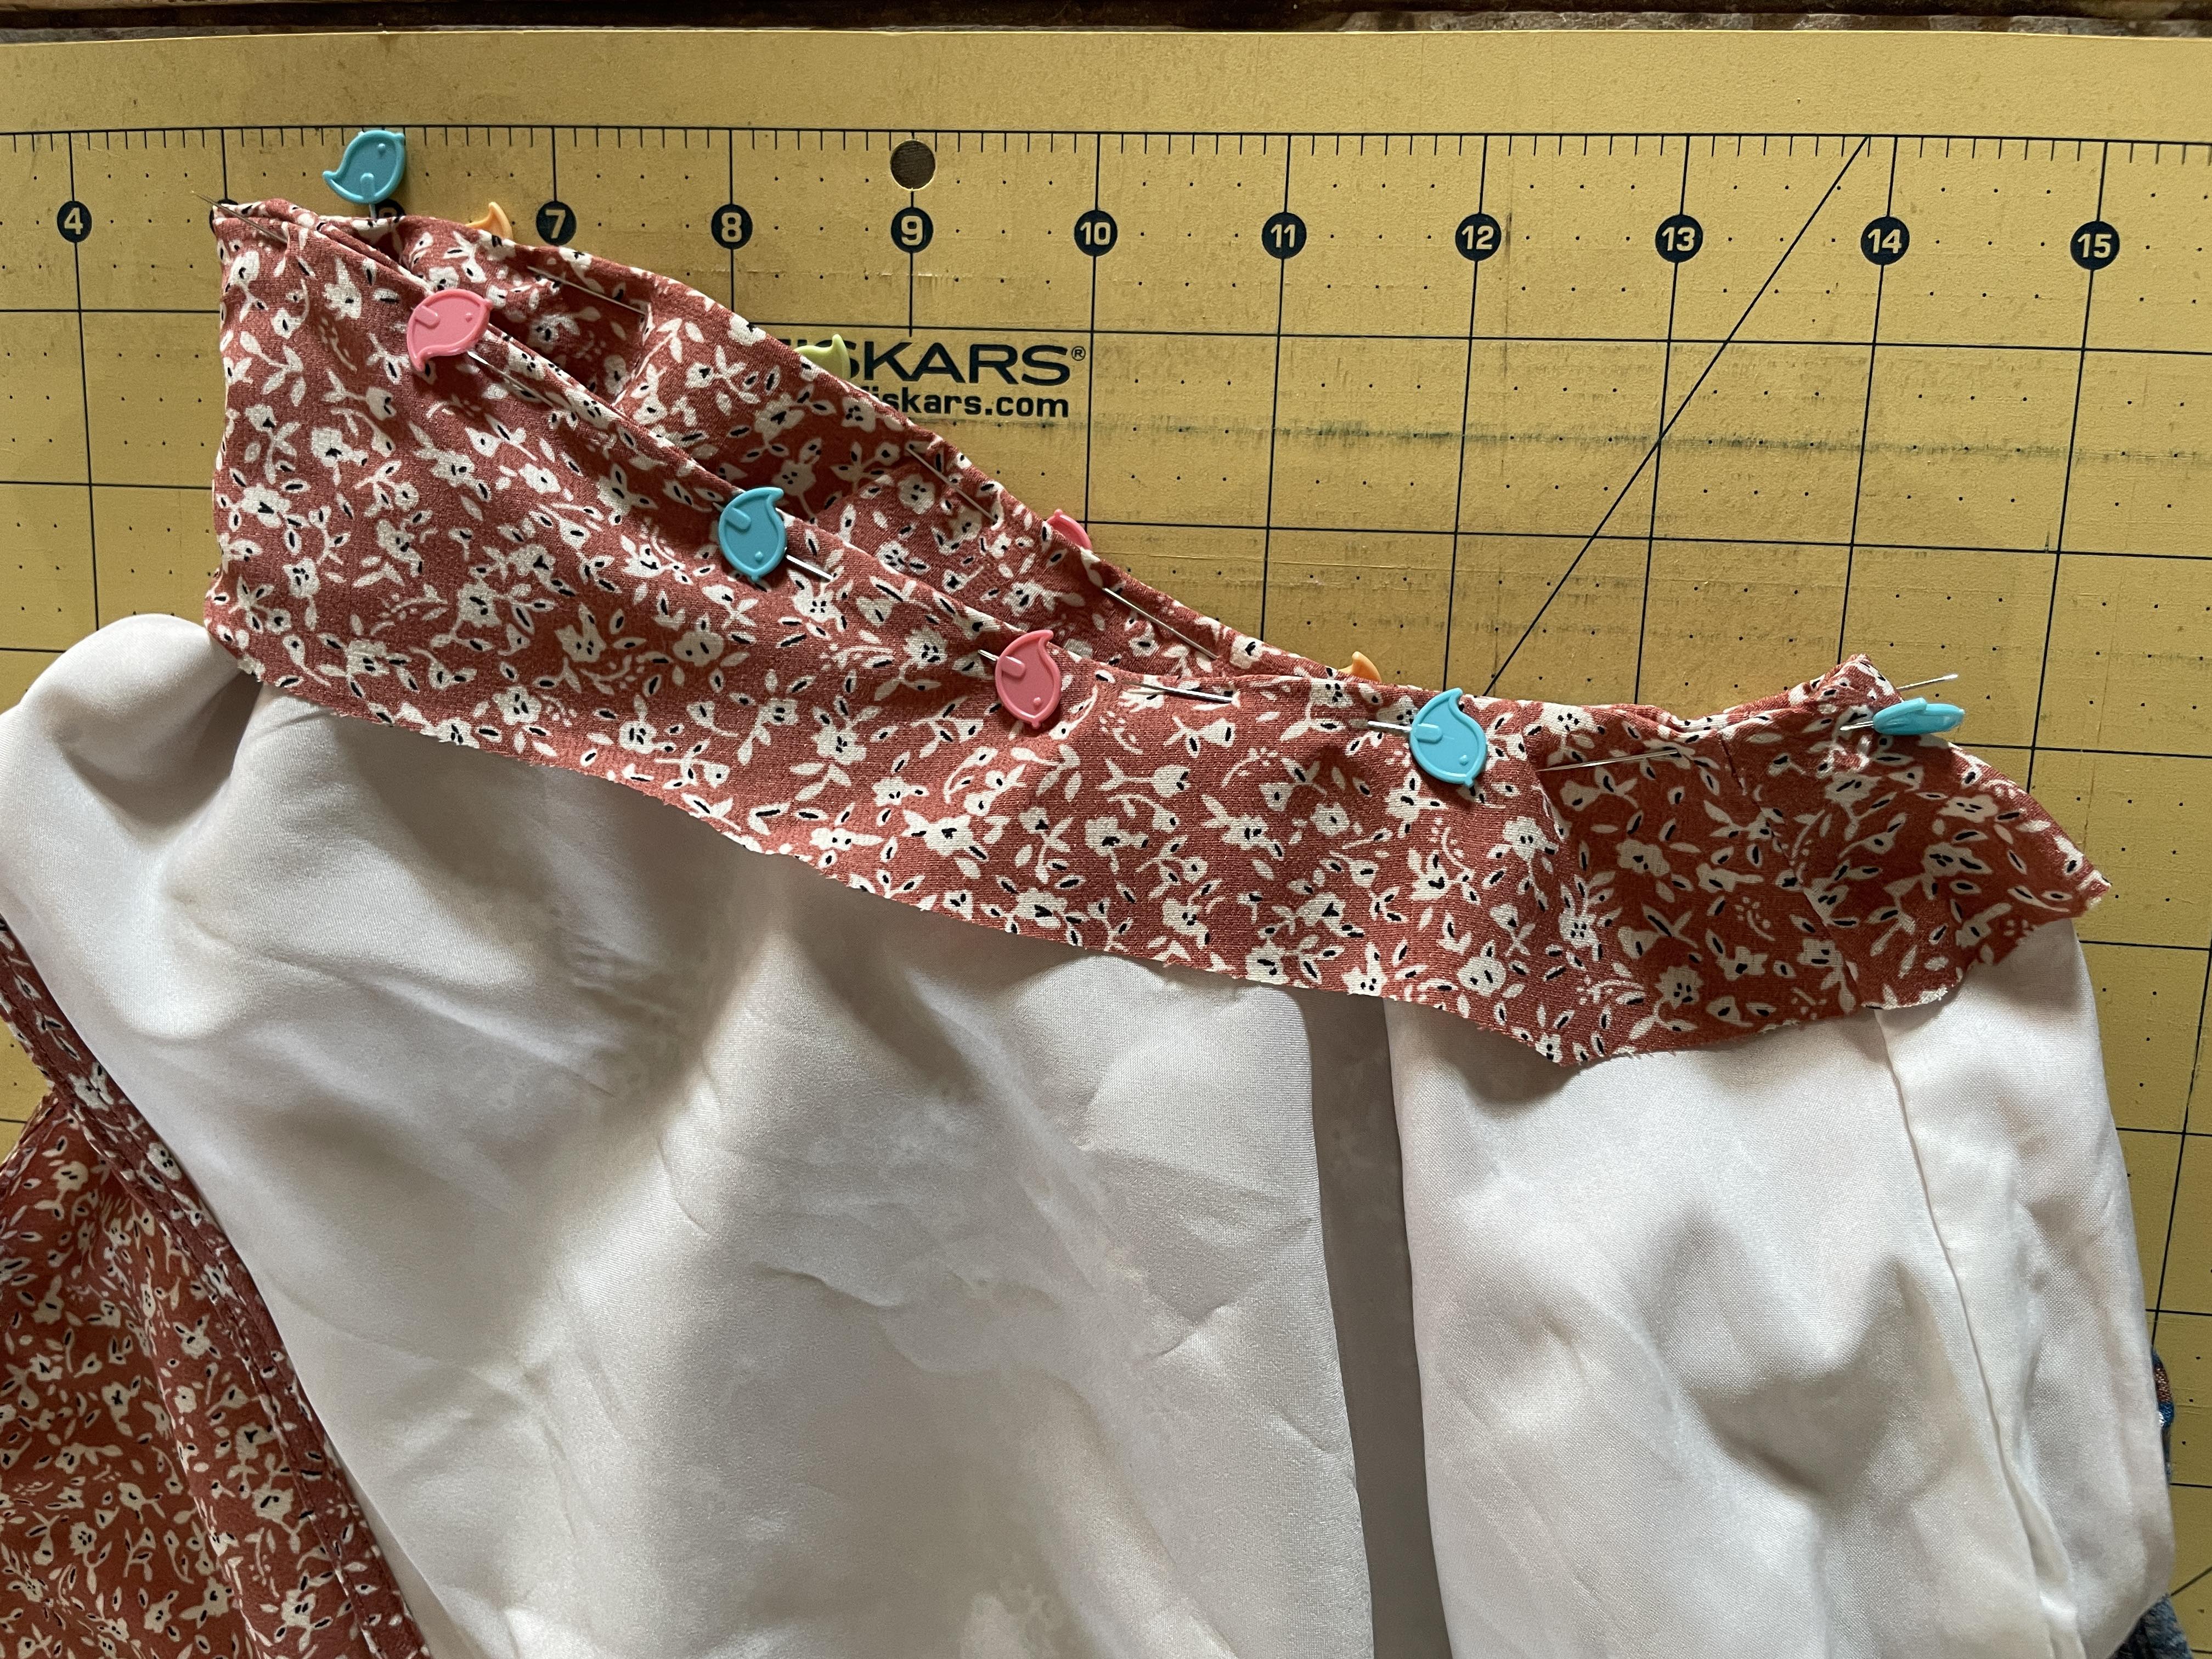
Next, you will invert the dress and begin pinning the fabric under. Pressing the seam at this point can be really beneficial for a smooth, finished seam.
You can pin either perpendicular to the seam or parallel. Whichever helps the fabric lay neatly so you can run it through your machine with less bunching and slipping.
Sewing the Hem
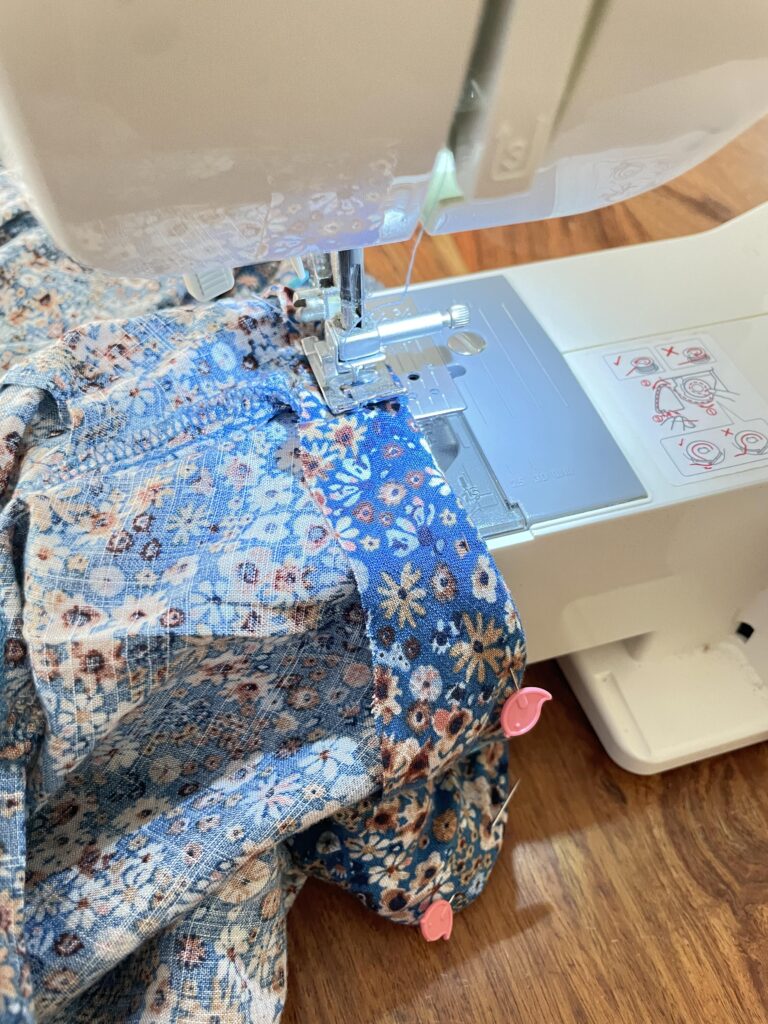
Next, its time to move to your sewing machine and begin stitching your hem.
I wanted a narrow seam edge so I stitched a 1/4″ seam allowance. Basically run the edge of the sleeve along the inside edge of your presser foot. Don’t forget to backstitch before taking off.
Go slow as well. Especially if you are working with a knit or slippery blend. This will keep your stitch line even and help your fabric to lay nicely when you are all finished.

You’re almost done!
Finishing the Hem
Once your seam is all stitched and you have backstitched, trim all of the excess threads.
Finally, you want to take your small, sharp scissors and trim off the excess fabric from your hem. Be careful to not get too close and cut your stitches!
This will make your shoulder seams lay nice and smooth. No one will know there used to be sleeves there!
Well done! You did it!
Now try that cute dress back on and enjoy wearing it!

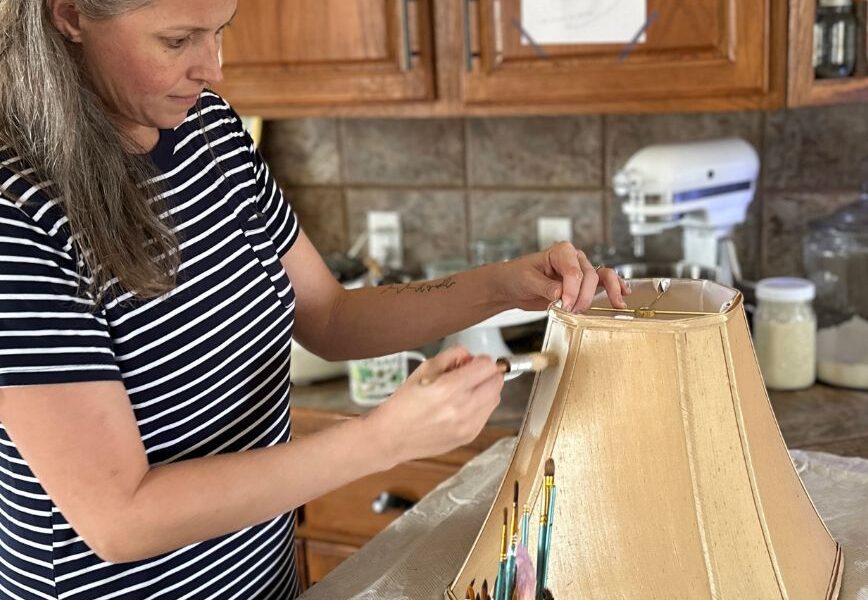
Isn’t it fun to transform something you own already into something new? Sometimes we just need to be willing to look at things from a different angle instead of tossing it aside. Whether its a piece from your wardrobe, a décor item in your home, or a homeschool curriculum piece. Try thinking outside the box before getting rid of it completely!
How did it go? Did you keep the dress after making it sleeveless? I’d love to hear about it in the comments below!
To God be the glory!
BASIC SEWING SUPPLIES USED:
I have had this sewing machine for 9 years!
CUTTING MAT & TOOLS
SEWING SUPPLIES

Leave a Reply